How to Install Floating Shelves Without Drilling
Floating shelves are a stylish and space-saving solution, ideal for renters or anyone looking to decorate without damaging walls. With the right techniques, you can install floating shelves in your home without a single drill hole for a drill-free update.
This article covers various no-drill installation methods for different floating shelf types and weights. Follow these tips to professionally mount shelves and display your favorite items, all without making a dent in your walls.
Why Go No-Drill? The Benefits of Floating Shelves
Floating shelves provide a modern, minimalist look while opening up your vertical storage and display space. They create the illusion that they are “floating” on the wall since no unsightly brackets are visible. From small ledges to hold trinkets to larger shelves that can support books and vases, the styling possibilities are endless.
The main appeal of no-drill floating shelves is the ability to install them without making holes in your walls. This prevents damage, makes patching and paint touch-ups unnecessary, and is ideal for renters who can’t alter permanent structures. It also allows you to mount shelves on tile, brick, or concrete walls that are difficult to drill into.
With the right no-drill installation techniques covered in this guide, anyone can mount floating shelves quickly and easily for a stylish updated look.
How to Plan Your Floating Shelves Project
Before you break out the tools, take some time to plan your shelf project for the best results.
Material
Consider what material you want your shelves to be constructed from. Common options include wood, metal, tempered glass, acrylic, and engineered wood composites. The material affects the shelf’s capacity, durability, and visual appeal.
Weight
Next, assess how much weight the shelves need to hold. Will they just display small decor items and plants, or do they need to bear the weight of heavy books or collectibles? This will determine which installation method is recommended. Aim for shelves that can support 50-100% more than your intended weight as a safety buffer.
Location
The intended location is also key. Measure the available space and purchase shelves in appropriate sizes and configurations. Mark where wall studs are located to provide optimal structural support when possible. Also ensure there are no wires, pipes, or other utilities inside the mounting area before proceeding.
Aesthetic
Finally, factor in the overall aesthetic you want. Browse shelf styles and choose finishes and colors that align with your vision. With the right planning, you’ll have stylish no-drill shelves that precisely fit your needs.
No-Drill Installation Method #1: Adhesive Strips
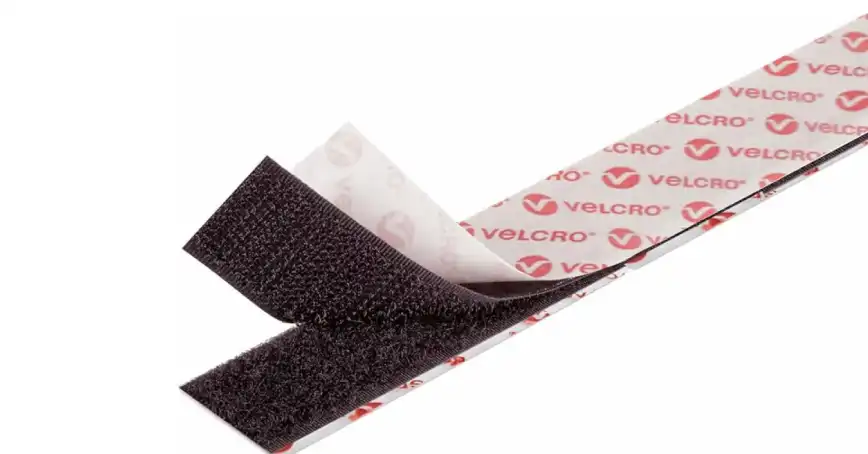
For lightweight floating shelves, removable adhesive strips provide an easy no-drill installation option. Brands like Command and VELCRO make special damage-free strips perfect for hanging lightweight to medium-weight shelves without tools.
To use this method:
- Select adhesive strips rated for the weight of your shelf and contents. Heavier duty strips like Command Extreme provide more support.
- Thoroughly clean and degrease the intended mounting area using isopropyl alcohol to prep the surface.
- Mark where the strips will go using a level, ensuring they align with wall studs for added stability.
- Remove the adhesive backing and firmly press the strips onto the wall and shelf back as directed.
- Wait for the full cure time specified before adding any weight to allow the powerful adhesive to fully bond.
Properly installed adhesive strips can securely and safely hold smaller floating shelves. Just be sure not to exceed the recommended weight capacity to prevent the shelf from detaching.
No-Drill Method #2: Adhesive Hooks and Tapes
For extremely lightweight shelves and items, adhesive hooks, putty, and double-sided mounting tape can provide no-drill attachment without strips.
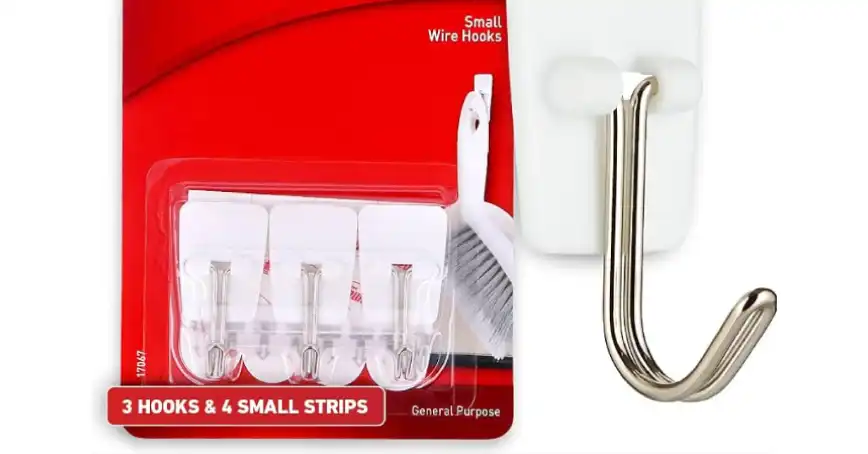
- Multi-purpose adhesive hooks with removable 3M backing can be used to hang very light floating shelves, especially when spaced close together across the shelf width.
- Specialty adhesive putties like Sugru permanently stick to surfaces while still being removable if heated. A small putty mount under a shelf can hold up trinkets or other tiny decor.
- Heavy duty double-sided mounting tapes work similarly to adhesive strips. Clean the surface thoroughly before applying them to both the wall and shelf backing.
While not as strong as other methods, these quick no-drill options are great temporary solutions or for very light shelves under 5 pounds. Use multiple hooks and tapes spaced close together to distribute weight and add more support if needed.
No-Drill Method #3: Tension Rod Shelving
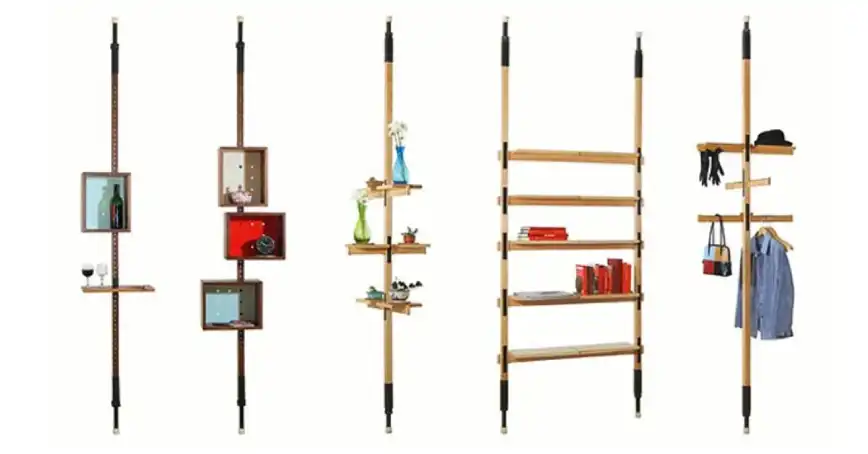
Tension rod systems like Labrico provide an innovative new no-drill floating shelf option. These shelf kits use telescoping metal tension rods that press-fit between floors and ceilings to suspend lightweight shelving units.
The benefits of tension rod floating shelves include:
- Easy tool-free installation. Just cut the rods to height and press fit into place.
- Fully customizable lengths to fit any space. Systems can span up to 120 inches wide.
- Ideal for renters since they are freestanding and don’t attach to walls.
- Quick to disassemble and move to new locations as needed.
The main limitation is weight capacity – most systems support around 40 pounds total. But for organized light storage and display, tension rod shelves are a great no-drill solution.
No-Drill Method #4: Shelf Brackets and Anchors
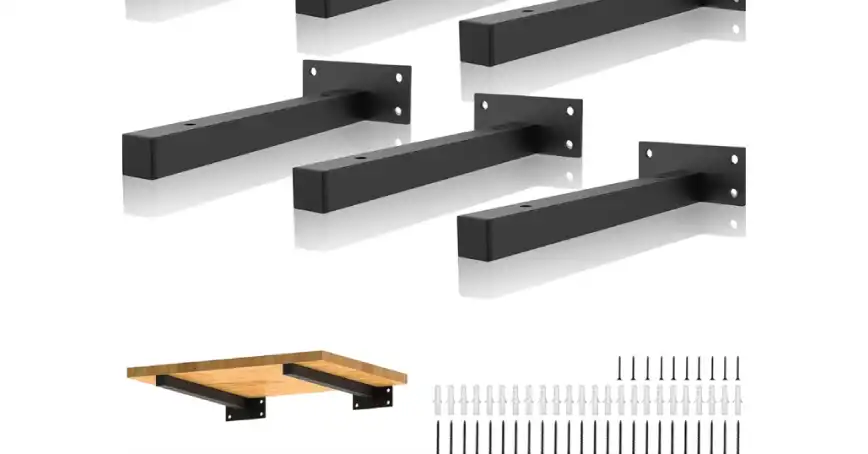
For heavier floating shelves, adjustable shelf brackets with self-drilling wall anchors provide solid drill-free support.
- Choose brackets in the correct size and weight capacity for your shelves. Allow for some extra weight buffer.
- Select screw-in wall anchors tailored for your wall material like Molly and Toggle bolts for drywall or self-drilling masonry anchors for brick and concrete.
- Mark the precise bracket locations using a level. Pre-drilling pilot holes is optional but helps position anchors accurately. Use care not to drill into utilities.
- Install the anchors by screwing them into the wall following the manufacturer’s instructions. Ensure they are aligned, level, and spaced according to your shelf size.
- Mount the shelf brackets securely into the installed anchors. Then place your floating shelf onto the brackets and enjoy your stationary drill-free shelf!
This anchored bracket system provides the most weight support for larger drill-free shelves. Take care to distribute the shelf load evenly and check anchors periodically to prevent loosening over time.
How to Ensure Proper Safety and Support for No-Drill Shelves
To enhance the strength and safety of your installation, keep these additional tips in mind:
- Whenever possible, align at least some of the mounting hardware with wall studs for added stability and anchor security. Studs provide significantly more support for heavy shelves.
- For priceless fragile items, use non-damaging earthquake putty or gel to securely hold them in place even if bumped. This adds peace of mind.
- Distribute weight evenly across shelves. Avoid placing all heavy items in one spot to prevent tipping or excessive loads on anchors.
- Periodically check the installation for any loosening of adhesives or anchors over time. Tighten or replace hardware if needed.
- If dealing with uneven walls, use shims behind mounts to level shelves. Leonard plastic shims are thin yet extremely strong.
- For extra security, utilize L-brackets, corner braces, or other shelf fixtures to provide additional support and strength.
Applying these tips along with the proper no-drill mounting method for your shelves will result in a sound and stylish floating shelf installation.
Decorating and Usage Ideas for Floating Shelves

Once your shelves are securely installed, it’s time for the fun part – decorating! Floating shelves allow for endless styling possibilities and creative uses throughout your home:
- In bathrooms, use wire baskets on shelves for folded towels or toiletries. Shelves grouped horizontally provide ample storage space.
- In bedrooms, floating shelves showcase books, photos or small plants to add visual interest over a bed or desk.
- In the kitchen, mount longer straight shelves near the cooktop for displaying pretty dishware and accouterments.
- In living rooms, glass shelves with LED lighting illumination make a dazzling focal point and display area.
- Alternating different-sized rectangular shelves in a staggered staircase pattern provides striking designer appeal.
- Curving shelves anchored at just the edges add lovely dimension against flat walls.
The design options with floating shelves are endless. Take advantage of your new drill-free shelves to organize your space and show off your personal decor style.
Conclusion
With the right adhesive strips, anchors, brackets, and hardware for your specific shelving needs, you can mount beautiful floating shelves that appear to magically hover on any wall. This opens up limitless possibilities for stylish storage and display.
Just be sure to properly assess your shelves, mounting location, and contents to select the proper installation method. Applying the techniques in this guide, anyone can easily, affordably, and safely open up their vertical space with dazzling drill-free floating shelves.
FAQ:
How much weight can adhesive hooks hold on the wall?
Most standard adhesive hooks hold around 5 pounds or less. Heavy-duty options like Command Picture Hanging Strips can hold medium-weight items from 10-20 pounds. But for heavier items, shelf brackets with anchors are recommended over adhesive hooks alone.
Do I need to find and mark the wall studs for floating shelves?
Finding and marking the studs behind your desired shelf location is ideal for providing added stability, especially for heavy-duty shelves. But it is not required – anchors and adhesive strips can be secured between studs. Just be sure the hardware you use is rated for the shelf weight.
What should I use to hang a heavy floating shelf without drilling?
For heavyweight floating shelves, self-drilling drywall anchors combined with metal shelf brackets provide the most strength and support without drilling into studs. Be sure the anchors are rated for the load of the shelf and contents. Follow directions carefully for proper installation.
How do I ensure my floating shelves are mounted level?
Check for level frequently during installation. First, mark the shelf location with a level. Then use shims behind brackets or anchors to adjust as needed to achieve perfect level placement before permanently attaching the shelf. A laser-level tool also helps maintain precision.
My shelves detached from the wall – what went wrong?
If floating shelves detach, it generally means the mounting hardware was either not strong enough for the shelf load or was improperly installed. For adhesive strips, ensure you use the proper weight-rated strips and allow adequate cure time. With anchors, be sure they are securely tightened into studs or drywall according to the product specifications and rated for the shelf weight.