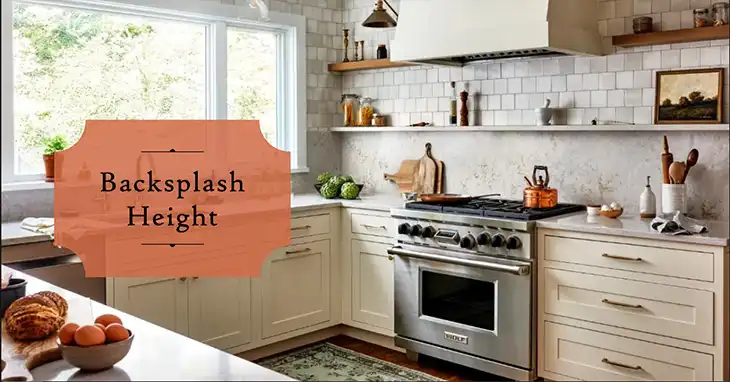
What to Do When Your Backsplash Doesn’t Reach the Cabinets?
A backsplash is a crucial element in any kitchen design, serving as a functional and aesthetic barrier that protects the walls from splashes, spills, and moisture. However, it’s not uncommon to encounter a scenario where the backsplash fails to reach the cabinets, leaving an unsightly and potentially problematic gap. This gap not only detracts from the overall appearance of your kitchen but can also pose functional issues, such as water damage and difficulty in cleaning.
In this article, we’ll talk about common reasons behind this issue, evaluate the need for addressing the gap, and provide practical solutions for different gap sizes. Let’s go.
When and Why Does the Backsplash Not Reach the Cabinets?
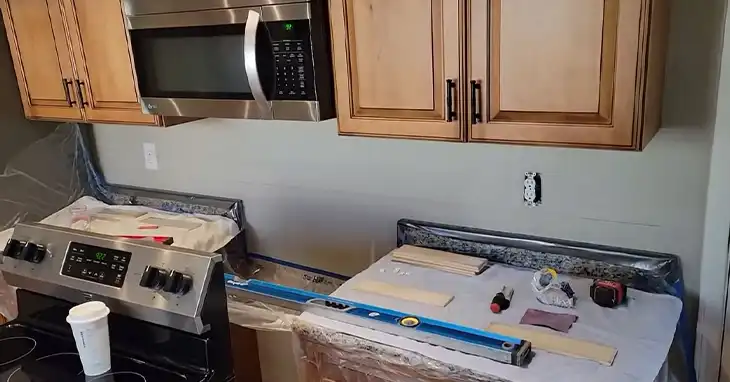
Several factors can contribute to the gap between the backsplash and cabinets. For starters, measurement errors during planning or installation: Inaccurate measurements can result in a backsplash that falls short of reaching the cabinets.
If the walls are not perfectly straight or level, the gap between the backsplash and cabinets may vary in size along the length of the wall. Also, any alteration you or the contractor may have done at the last minute can contribute to the situation.
Inconsistencies in cabinet installation, such as slightly varying heights or depths, can also lead to gaps between the backsplash and cabinet faces. Finally, in some cases, homeowners may intentionally choose to stop the backsplash short of the cabinets to save on materials or labor costs.
Should You Be Concerned About the Gap?
While a small gap between the backsplash and cabinets may seem harmless, it’s essential to consider both functional and aesthetic implications.
Functional Considerations
- Water damage and mold growth: The gap can allow water and moisture to seep behind the backsplash, potentially causing damage to the walls and creating an environment conducive to mold growth.
- Difficulty cleaning: Spills and food splatter can accumulate in the gap, making it challenging to clean and maintain a hygienic kitchen environment.
Aesthetic Impact
- Unfinished appearance: A gap between the backsplash and cabinets can detract from the overall cohesive look of your kitchen, giving an unfinished or incomplete feel.
- When a small gap might be acceptable: If the gap is less than 1/8 inch and consistent along the length of the cabinets, it may be acceptable from an aesthetic standpoint, provided it does not pose functional issues.
How to Fix Small Backsplash Gaps (Under 1/4 Inch)
If the gap between your backsplash and cabinets is less than 1/4 inch, you have two primary options:
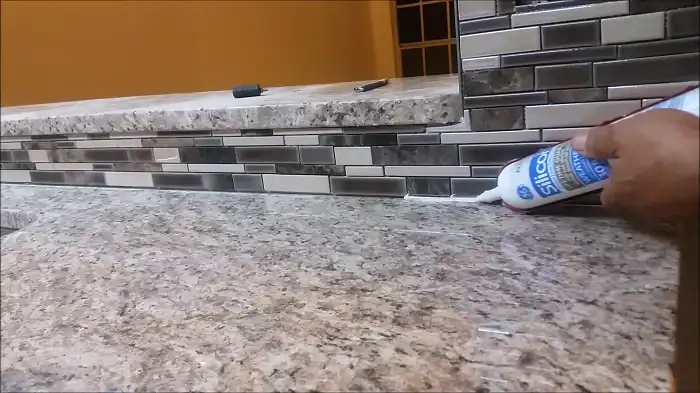
1. Caulking
Types of caulk suitable for kitchens: Silicone or acrylic-latex caulk are good choices for their flexibility, moisture resistance, and ease of application.
Choosing the right color: Select a caulk color that matches your grout or tile for a seamless finish.
Application tips: Ensure the gap is clean and dry, then apply a smooth bead of caulk using a caulk gun. Smooth the caulk with a damp finger or caulking tool for a professional finish.
2. Grout
Matching grout color: Choose a grout color that closely matches the existing grout in your backsplash for a cohesive look.
Considerations for using sanded vs. unsanded grout: For gaps smaller than 1/8 inch, unsanded grout is recommended as it is smoother and less prone to cracking.
Application techniques: Clean the gap thoroughly, then apply the grout using a grout float or putty knife. Wipe away excess grout with a damp sponge, and buff the area once the grout has cured.
How to Fix Medium Backsplash Gaps (1/4 Inch to 1/2 Inch)
If the gap between your backsplash and cabinets falls within the 1/4 inch to 1/2 inch range, consider these solutions:
1. Decorative Trim
Types of trim materials: Wood, metal, or PVC trims are popular options, each with their own advantages and maintenance requirements.
Choosing a trim style: Select a trim style that complements the existing backsplash and cabinet design, such as a simple square-edged trim or a more decorative molding.
Installation process: Measure and cut the trim to size, then secure it to the wall and backsplash using construction adhesive or finishing nails.
2. Mosaic Tile Border
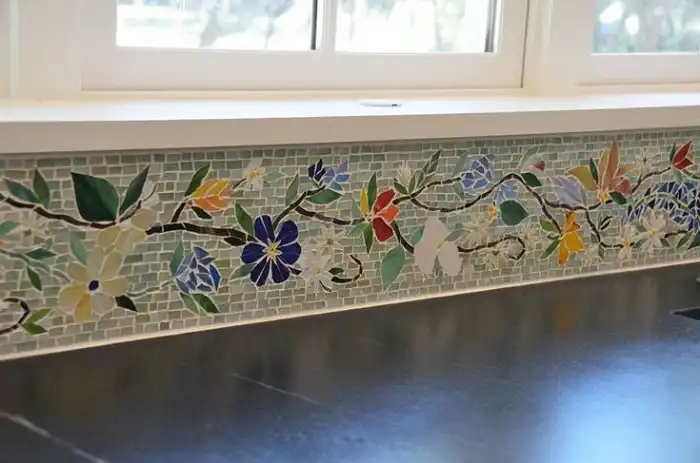
Selecting a mosaic tile: Choose a mosaic tile that coordinates with the existing backsplash in terms of color, texture, or pattern.
Design ideas: A mosaic border can be installed in a straight line or as a bullnose edge for a more polished look.
Installation steps: Clean and prepare the gap, apply thinset mortar, and carefully adhere the mosaic tiles in the desired pattern. Grout the mosaic border once the thinset has cured.
How to Fix Large Backsplash Gaps (Over 1/2 Inch)
If the gap between your backsplash and cabinets exceeds 1/2 inch, consider these more substantial solutions:
1. Adding a Capping Tile
Choosing a capping tile: Select a tile that matches the existing backsplash tile in size, thickness, and color for a seamless transition.
Cutting techniques: Capping tiles can be cut with a bullnose or mitered edge to create a finished look.
Installation process: Clean and prepare the gap, apply thinset mortar, and carefully adhere the capping tile to the top of the backsplash. Grout and seal the capping tile once the thinset has cured.
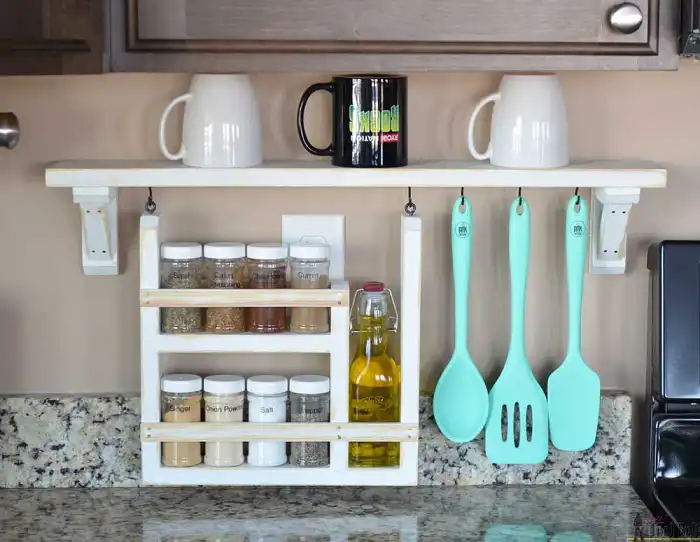
2. Installing a Shelf Above the Backsplash
Design options: You can choose from various shelf styles, such as a floating shelf or an open shelf with brackets, depending on your aesthetic preferences and functional needs.
Functionality: A shelf above the backsplash can provide additional storage or display space, adding both form and function to your kitchen.
Installation considerations: Ensure the shelf is securely anchored to the wall and can support the intended weight capacity.
DIY vs Professional Installation
When addressing the gap between your backsplash and cabinets, you have the option to tackle the project as a DIY endeavor or hire a professional contractor.
Depending on the solution you choose, you may need basic tools like a caulk gun, grout float, tile cutter, and measuring tools. Some DIY skills, such as tile cutting and grouting, may also be necessary. So, if you have those tools handy and can spare the time, going the DIY route can be a rewarding experience. Not to mention, it’ll save you some money in the process as well.
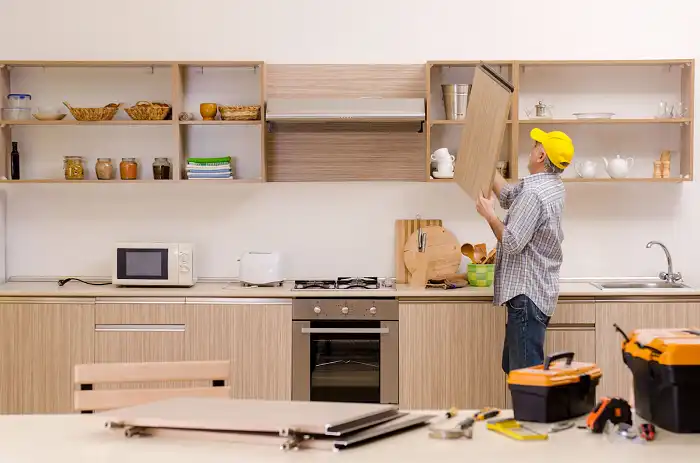
On the other hand, if you have chosen complex solutions like installing new cabinets to cover the gap, you might need professional help. They possess the required tools and complex skill required. Also, most of the time, professional contractor provide warranties on their work, which is a big piece of mind.
So, if you’re unsure about your DIY abilities or prefer a hassle-free experience, consider hiring a qualified contractor. However, if you have the necessary skills and tools, tackling the project yourself can be a cost-effective and rewarding option.
Preventative Measures to Avoid Gaps
While addressing an existing gap is important, it’s equally crucial to take preventative measures to avoid gaps between the backsplash and cabinets during future renovations or installations:
- Accurate measurements: Before installing the backsplash, ensure accurate measurements are taken to determine the appropriate backsplash height based on the cabinet placement and countertop depth.
- Planning and communication: Effective communication with contractors or designers is essential to avoid last-minute design changes that could create gaps. Discuss the desired backsplash height and cabinet layout early in the planning process.
- Consistent cabinet installation: If installing new cabinets, ensure they are leveled and installed consistently to prevent variations that could lead to gaps with the backsplash.
By following this comprehensive article, you can effectively address the gap between your backsplash and cabinets, restoring functionality and enhancing the aesthetics of your kitchen. Remember, proper planning, attention to detail, and a cohesive design approach are key to achieving a successful and visually appealing result.