How Level Do Cabinets Need To Be For Granite?
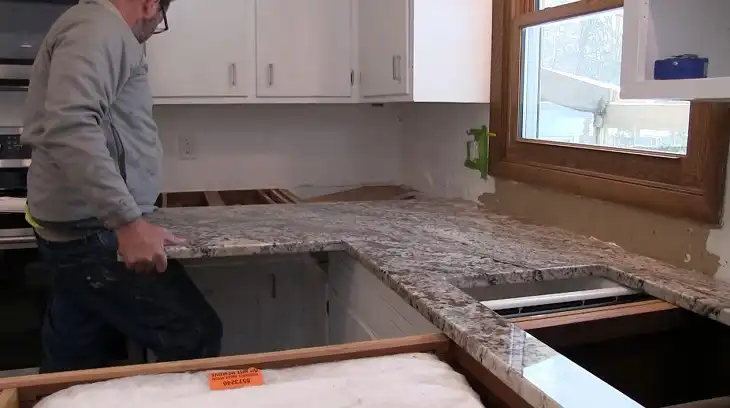
When preparing for a granite countertop installation, one crucial factor that often gets overlooked is the levelness of your cabinets.
Whether you’re working with brand new cabinetry or updating an older kitchen, ensuring your cabinets are level is essential for a successful granite installation.
The industry standard recommends that cabinet tops be within 1/8 inch (3mm) of flat and level across a distance of 10 feet (3 meters).
This level of precision is far more demanding than what’s typically required for laminate countertops, making it a critical consideration for homeowners and contractors alike.
Properly leveled cabinets provide the necessary support for heavy granite slabs, ensure proper seam alignment, and prevent potential cracking or gaps.
In this article, we’ll explore why cabinet levelness is so important, how to assess and achieve it, and what to expect when working with granite installers.
Whether you’re a DIY enthusiast or working with professionals, understanding these key principles will help you achieve a beautiful and long-lasting granite countertop installation.
Why Cabinets Need to be Level
The importance of having level cabinets for granite countertop installation cannot be overstated.
While it might seem like a minor detail, the levelness of your cabinets plays a crucial role in the overall success and longevity of your granite installation.
Proper Support and Weight Distribution
Granite is a heavy material, and its weight needs to be evenly distributed across the cabinet tops.
When cabinets are not level, it can lead to uneven weight distribution, potentially causing stress points in the granite. Over time, this could result in cracks or other damage to your expensive countertop.
Seam Alignment
For kitchens that require multiple pieces of granite, proper seam alignment is crucial for both aesthetics and functionality.
Level cabinets ensure that the seams between granite pieces line up correctly, creating a seamless look and preventing gaps or lippage (where one edge is higher than the other).
Preventing Gaps and Cracks
Uneven cabinets can create gaps between the granite and the cabinet tops. These gaps not only look unsightly but can also trap moisture and debris, leading to potential hygiene issues.
Moreover, unsupported areas of granite are more prone to cracking, especially around sinks or other cutouts where the stone is thinner.
Ensuring Proper Functionality
Level countertops are essential for the proper functioning of appliances and fixtures. For example, a slightly sloped countertop could cause issues with built-in cooktops or affect the drainage of undermount sinks.
Assessing Cabinet Levelness
Before you can address any leveling issues, you need to accurately assess the current state of your cabinets. This process involves using the right tools and checking for levelness in multiple directions.
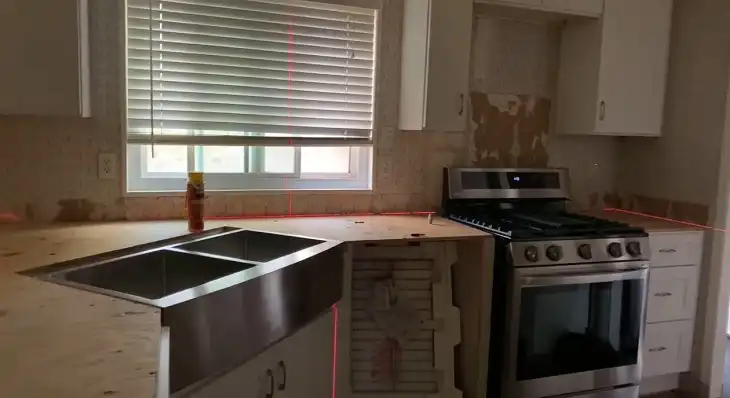
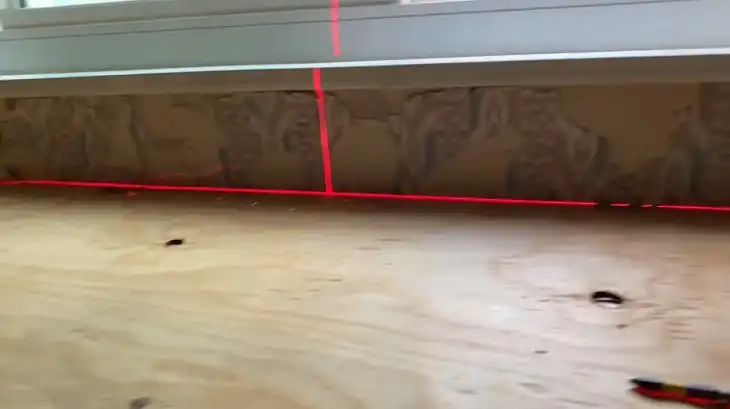
Using Laser Levels vs. Traditional Bubble Levels
Laser Levels:
- Provide a precise, continuous reference line across the entire cabinet run
- Ideal for longer cabinet spans and ensuring overall levelness
- Can be more accurate over long distances
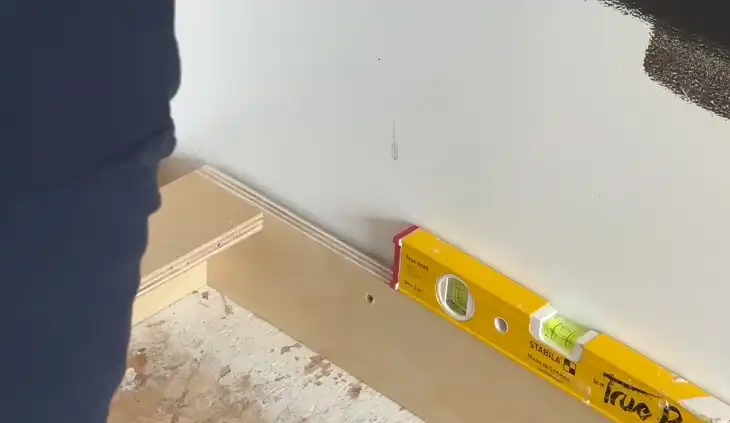
Traditional Bubble Levels:
- Good for checking individual cabinets or shorter runs
- Less expensive and more readily available
- Accuracy can depend on the length and quality of the level
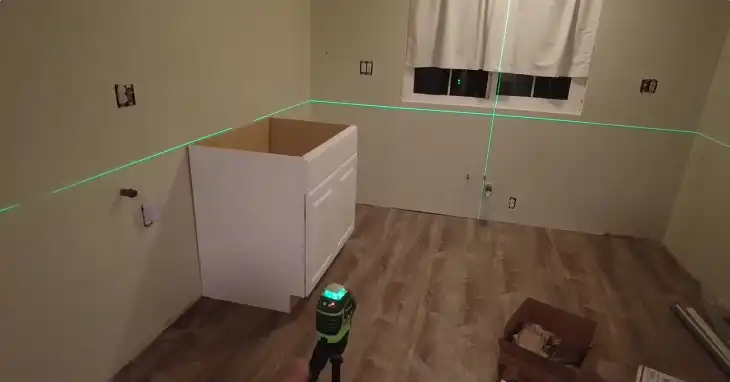
For the most accurate results, many professionals recommend using a self-leveling laser level. These tools project a level line across the entire kitchen, making it easier to identify high and low spots across the full span of your cabinets.
Checking Front-to-Back and Side-to-Side
When assessing cabinet levelness, it’s important to check in multiple directions:
- Side-to-Side: Place your level across the top of the cabinets, checking for any slope from left to right along the entire run.
- Front-to-Back: Check each individual cabinet from the front edge to the back wall. This ensures that the countertop will sit flat without tilting forward or backward.
- Corner to Corner: For L-shaped or U-shaped layouts, check the levelness from one corner to another to ensure overall consistency.
- High Points: Identify the highest point across all cabinets. This will serve as your reference point for leveling the rest of the cabinets.
Remember, the goal is to have all cabinet tops within 1/8 inch of level across a 10-foot span. While this might seem like a tight tolerance, it’s crucial for a successful granite installation.
Cabinet Leveling Techniques For Granite
Once you’ve assessed your cabinets and identified any leveling issues, it’s time to address them. The techniques you’ll use depend on whether you’re working with new cabinets or existing ones.
1. For New Cabinets
When installing new cabinets, you have the advantage of being able to adjust them as you go. Here are some techniques to ensure proper leveling:
Start with a Level Base:
- Use a long level to check the floor where the cabinets will sit.
- If the floor is uneven, use shims under the cabinet base to create a level starting point.
Install and Adjust:
- Begin with a corner cabinet or the cabinet at the highest point of the floor.
- Use shims under the cabinet to achieve proper height and level.
- Check for level front-to-back and side-to-side as you install each cabinet.
Connect and Fine-Tune:
- As you connect cabinets, continually check for level across the entire run.
- Adjust shims as needed to maintain consistency.
Secure and Recheck:
- Once all cabinets are in place and level, secure them to the wall.
- Do a final check with your laser level or long spirit level to ensure everything remained in place during securing.
2. For Existing Cabinets
Leveling existing cabinets can be more challenging, but it’s not impossible. Here are two main approaches:
Shimming from Underneath:
- Remove the toe kicks to access the bottom of the cabinets.
- Use tapered composite shims to raise low spots.
- Be cautious of plumbing or electrical connections that might limit how much you can raise the cabinets.
- Once level, secure the shims in place with adhesive or small nails.
- Replace toe kicks, using shoe molding if necessary to cover any gaps created by raising the cabinets.
Building Up the Top Surface:
- If cabinets can’t be raised from underneath, you can build up the top surface.
- Use strips of hardboard or plywood to raise low areas.
- Start at the back of the cabinets and work forward, checking level as you go.
- Use a belt sander to smooth transitions between shims if necessary.
- For significant build-ups, consider covering the entire cabinet top with a thin layer of plywood for a consistent surface.
Remember, the goal is to create a flat, level surface for your granite countertops to rest on. Take your time with this process, as it’s crucial for the longevity and appearance of your new countertops.
Acceptable Tolerances
While perfect levelness is ideal, it’s important to understand what’s considered acceptable in the industry.
Knowing these tolerances can help you determine whether your cabinets are ready for granite installation or if further adjustments are needed.
Industry Recommendations
The Marble Institute of America, a leading authority in the natural stone industry, provides specific guidelines for cabinet levelness:
The top surface of the cabinets should be within 1/8 inch (3mm) of flat and level across a distance of 10 feet (3 meters).
This tolerance is much stricter than what’s typically acceptable for laminate countertops, highlighting the importance of precision when working with natural stone.
Dealing with Slight Unevenness
While striving for perfect levelness, it’s important to note that slight variations can often be accommodated:
Minor Adjustments During Installation:
- Granite installers can often make small adjustments using shims during the installation process.
- These shims can help level out minor inconsistencies in the cabinet surface.
Flexibility of Granite:
- 3cm (1 1/4 inch) thick granite can span gaps up to 24 inches without support.
- This allows for some flexibility in dealing with slight unevenness, especially over shorter distances.
Seam Considerations:
Pay extra attention to levelness where seams will be located, as even small discrepancies can be noticeable here.
Sink Areas:
The area around sinks should be as level as possible to ensure proper drainage and prevent stress on the stone.
While these tolerances provide some leeway, it’s always best to aim for as level a surface as possible. This not only ensures the best support for your granite but also helps prevent potential issues down the line.
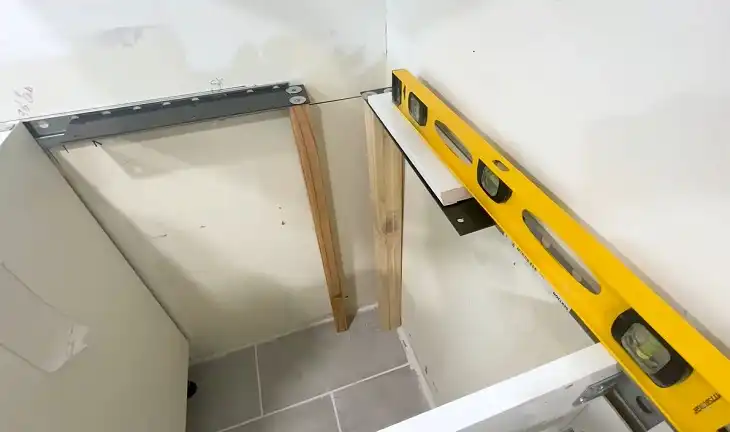
Supporting Overhangs
When designing your granite countertops, you may want to include overhangs for seating areas or aesthetic appeal. However, these overhangs require proper support to ensure the safety and longevity of your countertop.
Steel Supports
For moderate overhangs, steel supports are often the go-to solution:
Corbels:
- L-shaped brackets that attach to the cabinet and extend under the overhang.
- Can support overhangs up to 12 inches, depending on the thickness of the granite.
Steel Plates:
- Flat steel supports that are mounted to the cabinet and extend under the granite.
- Provide strong support while remaining largely hidden from view.
Limitations:
- Most steel supports are designed for overhangs up to 12 inches.
- For larger overhangs, additional support may be necessary.
Decorative Legs and Braces
For larger overhangs or when you want a more visible support structure, decorative legs and braces can be both functional and aesthetically pleasing:
Countertop Legs:
- Available in various materials and styles to match your decor.
- Can support larger overhangs, typically up to 15-18 inches.
Horizontal Braces:
- Bars that run between legs, providing additional support and a finished look.
- Help distribute weight and prevent sagging over time.
Custom Solutions:
- For unique designs or extra-large overhangs, custom support structures can be fabricated.
- Work with your granite installer or a structural engineer to ensure proper support.
When planning overhangs, consider both the functional requirements and the overall design of your space. The right support solution will ensure your granite countertop is safe, stable, and beautiful for years to come.
Working with Granite Installers
Collaborating effectively with your granite installers is crucial for achieving the best results. These professionals have the expertise to ensure your cabinets are properly prepared and your granite is installed correctly.
Professional Assessment During Templating
Before your granite is cut and installed, the installers will typically perform a templating process:
Laser Measurements:
- Many installers use advanced laser measuring tools to create precise templates.
- This process often includes checking the levelness of your cabinets.
Identifying Issues:
- The templating professional will assess your cabinets for any leveling problems.
- They may point out areas that need adjustment before installation can proceed.
Overhang Considerations:
- Discuss any planned overhangs and ensure proper support is in place or planned.
Seam Placement:
- The installer will determine the best locations for seams, considering both aesthetics and structural integrity.
Addressing Issues Before Installation
If the templating process reveals any problems with cabinet levelness or support, it’s important to address these before the granite is fabricated:
Communication:
- Discuss any concerns the installer raises about cabinet levelness.
- Ask for specific recommendations on how to address these issues.
Professional Adjustments:
- Some granite companies offer cabinet leveling services.
- Consider hiring a professional carpenter if significant adjustments are needed.
DIY Solutions:
- If you’re comfortable making adjustments yourself, follow the installer’s recommendations.
- Use the techniques discussed earlier in this article to level your cabinets.
Final Check:
Once adjustments are made, have the installer return to recheck and confirm that everything is ready for granite installation.
Final Words
Preparing your cabinets for granite countertop installation is a critical step that should not be overlooked. By ensuring your cabinets are level within the recommended 1/8 inch tolerance over 10 feet, you’re setting the stage for a successful and long-lasting granite installation.
Remember, level cabinets provide proper support for your heavy granite slabs, ensure correct seam alignment, and prevent potential issues like cracking or gaps. Whether you’re working with new cabinets or updating an older kitchen, taking the time to assess and adjust cabinet levelness is well worth the effort.
Frequently Asked Questions
1. Do Cabinets Have To Be Perfectly Level?
Yes, cabinets should be perfectly level, especially if you plan to install countertops or other fixtures on top. If cabinets are not level, it can lead to misalignment, gaps, and potential issues with the installation of countertops, backsplashes, and appliances.
Uneven cabinets can also create additional problems for other trades, leading to potential liability and costly corrections down the line.
2. How To Level Old Cabinets For Granite Countertops?
To level old cabinets for granite countertops, you can use shims. Start by placing a level on top of the cabinets and identify any areas where the surface is not even.
Insert shims along the top edge of the cabinet base to raise low spots until the entire surface is level. Make sure to secure the shims in place so they don’t shift during countertop installation.
3. What Is The Level Tolerance For Granite Countertops?
The level tolerance for granite countertops is typically between 1/8” to 1/4”. This means that the granite should not have more than a 1/8” to 1/4” deviation from being perfectly level. Exceeding this tolerance can result in uneven surfaces, stress points, and potential cracks in the granite over time.
4. Do Cabinets Need To Be Reinforced For Granite?
Yes, cabinets often need to be reinforced to support the weight of granite countertops. Granite is a heavy material, and standard cabinets may require additional support, such as extra bracing or stronger materials, to ensure they can handle the load without sagging or collapsing over time.
5. How Flat Do Cabinets Need To Be For Countertops?
Cabinets need to be within 1/8 inch (3mm) of flatness across the entire surface for countertops. This level of flatness ensures that the countertops sit evenly on the cabinets, preventing gaps and ensuring a solid, secure installation. Any deviations beyond this can lead to installation issues and potential damage to the countertops.