How To Finish Bottom Of Upper Cabinets?
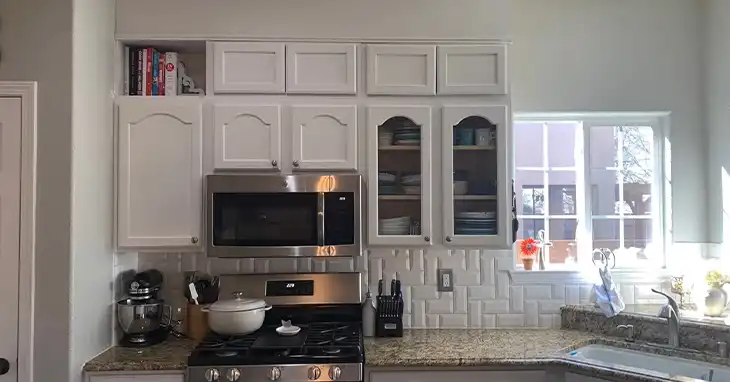
If you’ve ever sat at your kitchen table and looked up, you may have noticed an unsightly view – the unfinished bottoms of your upper cabinets. This often overlooked area can detract from the overall appearance of your kitchen.
Fortunately, there are several ways to finish and improve the look of cabinet undersides, from simple paint touch-ups to adding decorative panels or molding.
In this article, we’ll explore the different options for finishing cabinet bottoms, provide step-by-step instructions, and discuss important considerations to keep in mind.
Whether you have wood or laminate cabinets, frameless or face frame construction, we’ll cover approaches that can work for your kitchen.
With some basic materials and a little effort, you can transform those ugly cabinet bottoms into an attractive, finished look that completes your kitchen design.
Options for Finishing Cabinet Bottoms
When it comes to finishing the bottom of your upper cabinets, you have several options to choose from. Let’s explore the most popular methods:
1. Painting
One of the simplest and most cost-effective solutions is to paint the cabinet bottoms. This works especially well if your cabinets are already painted or if you’re looking for a quick fix.
2. Adding a Skin/Panel
For a more polished look, you can add a thin plywood or MDF panel to cover the entire bottom surface. This method allows you to match the panel to your cabinet color or even add a contrasting design element.
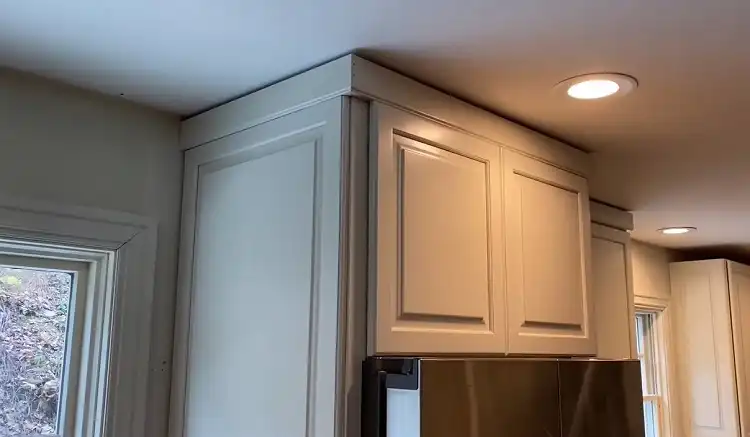
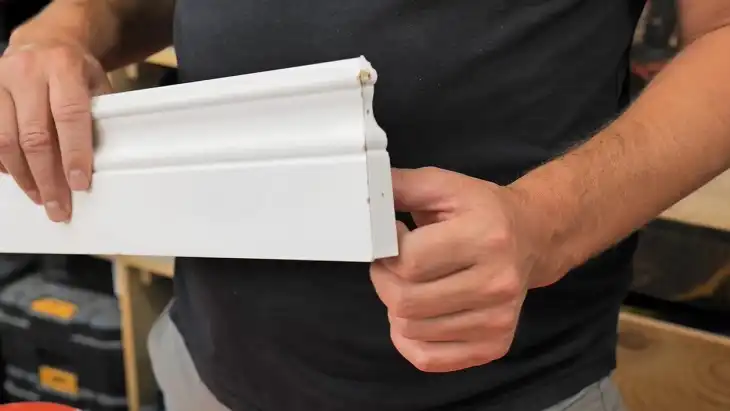
3. Installing Light Rail Molding
Light rail molding, also known as light valance, is a decorative trim piece that attaches to the bottom front edge of upper cabinets. It can effectively hide the unfinished bottom while also concealing under-cabinet lighting.
4. Using Veneer
If you have wood cabinets and want to maintain a consistent look, applying wood veneer to the bottoms can provide a seamless finish.
How to Finish the Bottom of Upper Cabinets
Finishing the bottom of your upper cabinets can significantly enhance the overall look of your kitchen or bathroom. Here are several popular options:
Materials Needed
Before you begin, gather the following materials:
- Paint or stain (if painting)
- Thin plywood or MDF (if adding a skin)
- Light rail molding (if using this option)
- Wood veneer (if applicable)
- Sandpaper
- Primer
- Paintbrushes or rollers
- Carpenter’s nails or screws
- Caulk and caulk gun
- Wood filler
- Measuring tape
- Saw (if cutting panels or molding to size)
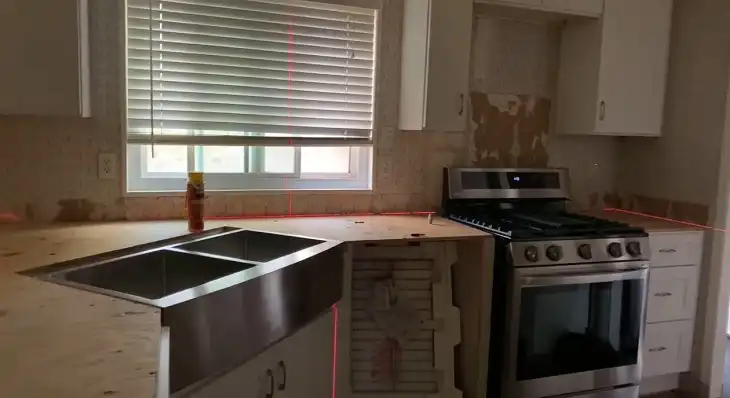
Step 1: Preparing the Surface
- Clean the cabinet bottoms thoroughly to remove any dust or grease.
- If the surface is glossy, lightly sand it to help the new finish adhere better.
- Fill any holes or imperfections with wood filler and sand smooth once dry.
- Wipe away any dust from sanding.
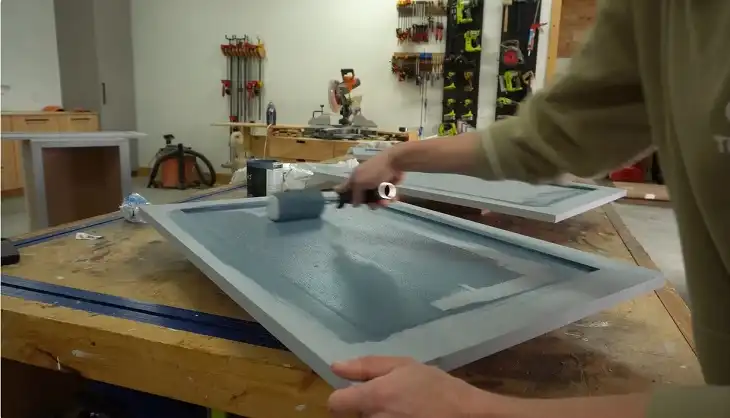
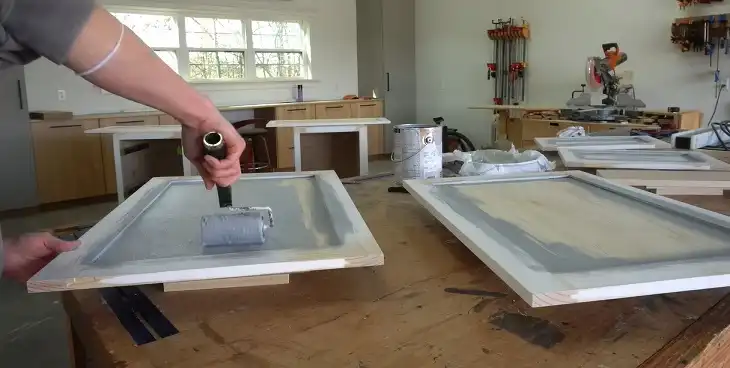
Step 2: Applying the Chosen Finish
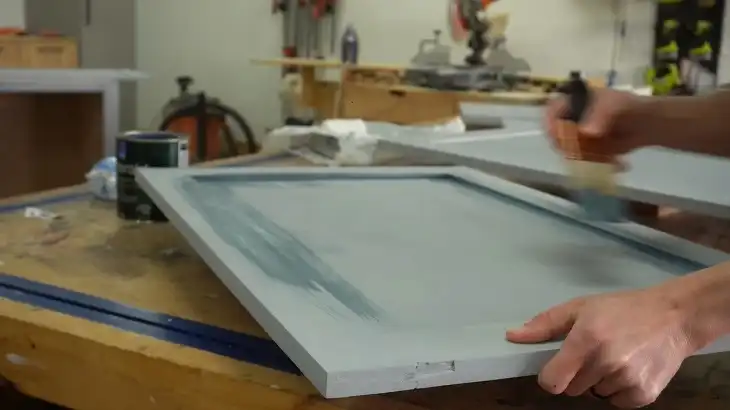
For Painting:
- Apply a coat of primer if needed, especially if changing colors drastically.
- Once dry, apply your chosen paint color, using smooth, even strokes.
- Allow to dry completely and apply a second coat if necessary.
For Adding a Skin/Panel:
- Measure and cut your plywood or MDF to fit the cabinet bottom.
- Paint or finish the panel before installation if desired.
- Attach the panel using carpenter’s nails or screws, ensuring it’s flush with the cabinet edges.
- Fill nail holes with wood filler and touch up with paint if needed.
For Installing Light Rail Molding:
- Measure the length of your cabinets and cut the molding to size.
- Paint or stain the molding to match your cabinets if necessary.
- Attach the molding to the bottom front edge of the cabinets using nails or screws.
- Caulk any gaps for a seamless look.
Step 3: Adding Trim or Molding if Desired
If you’ve chosen to add decorative trim or molding in addition to your chosen finish:
- Measure and cut the trim to fit.
- Paint or stain to match your cabinets.
- Attach using finish nails.
- Caulk edges and fill nail holes for a polished look.
Considerations for Different Cabinet Types
Choosing the right cabinet type is crucial for both the aesthetics and functionality of your space. Here are key factors to consider:
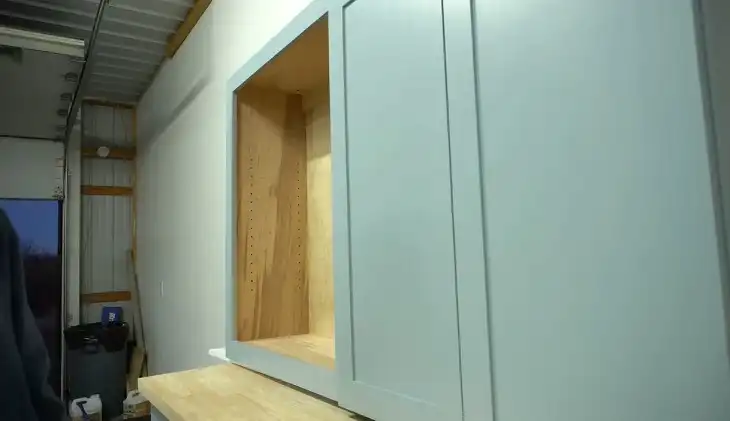
Frameless vs. Face Frame Cabinets
Frameless cabinets often have exposed edges that may need to be addressed with edge banding or trim. Face frame cabinets typically have a built-in lip that can help conceal unfinished bottoms.
Wood vs. Laminate Cabinets
Wood cabinets offer more flexibility in terms of finishing options. They can be easily painted, stained, or veneered. Laminate cabinets may require special primers or techniques to ensure proper adhesion of paint or other finishes.
Incorporating Undercabinet Lighting
If you plan to install or already have undercabinet lighting, consider how your chosen finish will affect light distribution.
Light rail molding can help conceal LED strips, while a painted or veneered bottom can reflect light for better illumination.
When adding a skin or panel, you may need to create cutouts for existing lighting fixtures or plan the installation around them.
DIY vs. Professional Installation
While many of these finishing techniques can be DIY projects, some homeowners may prefer to hire a professional, especially for more complex installations or if working with high-end cabinetry.
DIY Pros:
- Cost-effective
- Customizable to your exact preferences
- Sense of accomplishment
Professional Pros:
- Expertise in dealing with various cabinet types
- Access to specialized tools and materials
- Guaranteed quality finish
Consider your skill level, available time, and the complexity of your chosen finish when deciding whether to DIY or hire a pro.
Final Words
Finishing the bottom of your upper cabinets is a relatively simple project that can significantly improve the overall look of your kitchen.
Whether you choose to paint, add a panel, install light rail molding, or use veneer, the key is to select a method that complements your existing cabinetry and kitchen design.
Remember to properly prepare surfaces, use appropriate materials, and take your time for the best results.
With a little effort, you can transform those unsightly cabinet bottoms into a polished, professional-looking finish that completes your kitchen’s aesthetic.
Don’t let unfinished cabinet bottoms detract from your beautiful kitchen any longer. Choose the method that works best for you and enjoy a fully finished, cohesive look in your space.
Frequently Asked Questions
1. Should The Bottom Of Upper Cabinets Be Finished?
Yes, finishing the bottom of upper cabinets is important for a polished look, especially in kitchens where they are often visible. It also protects the material from moisture and wear.
2. How To Cover The Bottom Of Upper Cabinets?
You can cover the bottom of upper cabinets with a variety of options, including a matching veneer, light rail molding, or even an under-cabinet lighting system that doubles as a cover.
3. What Goes Underneath Upper Cabinets?
Typically, under-cabinet lighting, power strips, or molding can be installed underneath upper cabinets for both functional and aesthetic purposes.
4. What Is The Trim On The Bottom Of Upper Cabinets Called?
The trim on the bottom of upper cabinets is often referred to as light rail molding. It conceals under-cabinet lighting and creates a finished look.
5. How Do You Fill The Gap Between Upper Cabinets And Ceilings?
To fill the gap between upper cabinets and ceilings, you can use crown molding, filler strips, or extend the cabinets to the ceiling for a custom-built appearance.