How To Install Starter Molding On Cabinets?
Installing starter molding on cabinets can seem like a daunting task, especially for DIY enthusiasts tackling their first kitchen remodel.
However, with the right approach and attention to detail, you can achieve a professional-looking finish that enhances the overall appearance of your cabinetry.
The key to successful starter molding installation lies in proper preparation, accurate measurements, and understanding the different types of molding and installation methods available.
Whether you’re working with L-shaped molding, blocking and fascia strips, or single-piece molding, this guide will walk you through the process step-by-step, helping you navigate common challenges such as uneven ceilings and varying cabinet heights.
By following these tips and techniques, you’ll be well-equipped to transform your kitchen cabinets and create a polished, cohesive look that ties your entire space together.
Preparing for Installation Of Starter Molding On Cabinets
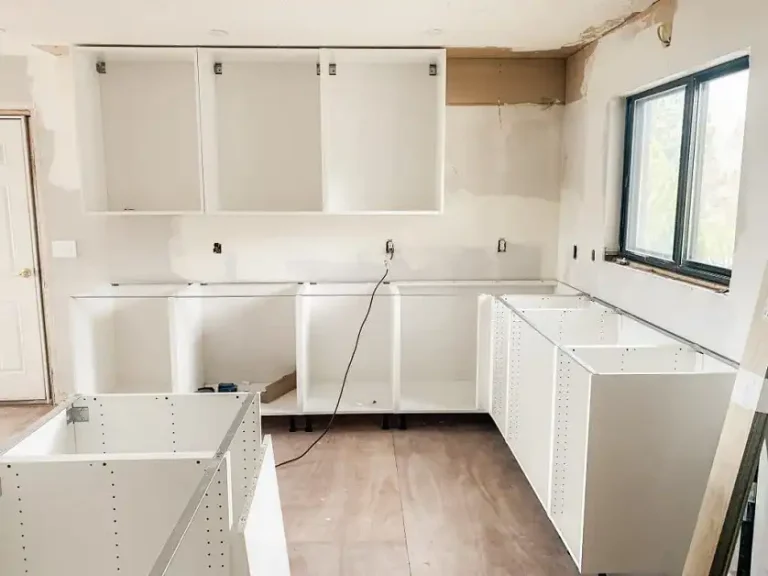
Before diving into the installation process, proper preparation is crucial for achieving a professional-looking result. Let’s explore the key steps to get your cabinets ready for starter molding.
Checking Cabinet Alignment And Evenness
Start by ensuring your cabinets are properly aligned and level. Use a laser level to check both horizontal and vertical alignment across all cabinets.
If you notice any discrepancies, now is the time to adjust them using shims or by tightening mounting screws.
Determining Proper Cabinet Height
The standard height for upper cabinets is typically 54 inches from the floor to the bottom of the cabinet, with the top of the cabinet frame at 84 inches.
However, this can vary depending on your ceiling height and personal preferences. Measure from the high spot in your floor to ensure consistent alignment throughout the room.
Gathering Necessary Tools And Materials
To install starter molding, you’ll need:
- Miter saw
- Nail gun (preferably 23-gauge pin nailer)
- Level
- Measuring tape
- Wood glue
- Sandpaper
- Caulk
- Paint or stain (to match your cabinets)
- Starter molding or materials for DIY L-shaped molding
Having all these tools and materials on hand will make the installation process smoother and more efficient.
Types of Starter Molding
There are several approaches to installing starter molding on cabinets. Let’s explore the most common options:
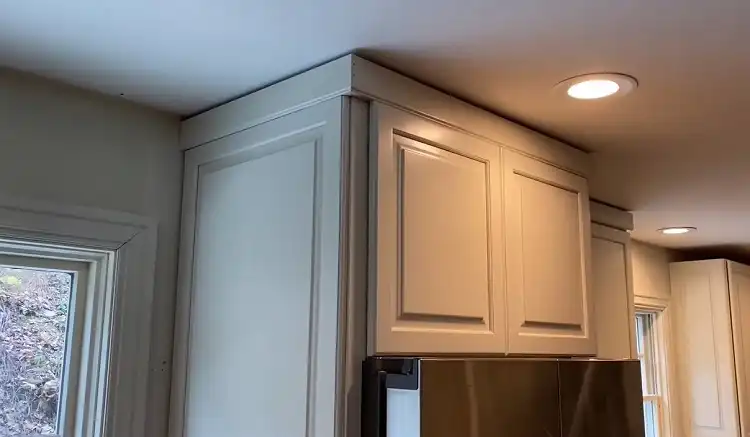
1. L-Shaped Molding
L-shaped molding is a pre-fabricated piece that creates a ledge for attaching crown molding. It’s often the easiest option for DIYers, as it eliminates the need for complex cuts and assembly.
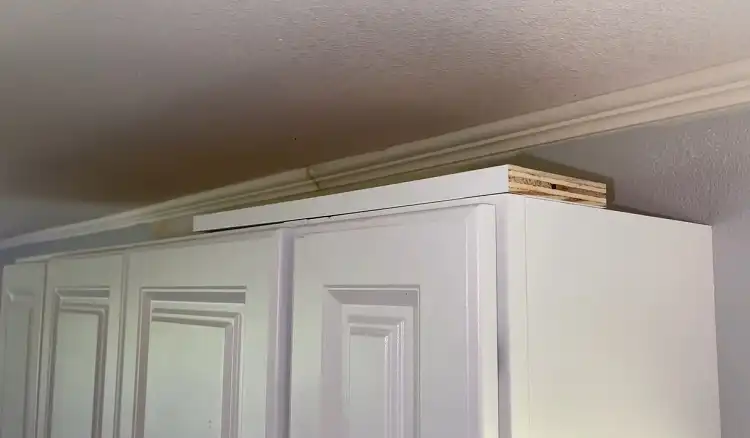
2. Blocking And Fascia Strip
This method involves attaching wooden blocks to the top of the cabinet and then covering them with a fascia strip. The crown molding is then attached to this built-up area. This approach offers more flexibility in adjusting for uneven ceilings.
3. Single-Piece Molding
Some cabinet manufacturers offer extended top rails or single-piece moldings that serve as both the starter and the crown. While convenient, these options may limit your ability to adjust for ceiling irregularities.
How To Install Starter Molding On Cabinets
Now that we’ve covered the basics, let’s dive into the step-by-step process of installing starter molding.
1. Installing Blocking Or L-Shaped Molding
If using L-shaped molding:
- Measure and cut the molding to fit the length of your cabinet run.
- Apply wood glue to the back of the molding.
- Position the molding flush with the front of the cabinet face frame.
- Secure with pin nails every 12-16 inches.
If using blocking:
- Cut wooden blocks to fit between the top of the cabinet and the ceiling.
- Attach blocks to the top of the cabinet using screws or nails.
- Ensure the front edge of the blocks is flush with the cabinet face frame.
2. Attaching Fascia Strip (If Applicable)
If you’re using the blocking method:
- Measure and cut a strip of wood or MDF to cover the blocking.
- Apply wood glue to the back of the strip.
- Attach the strip to the blocking using pin nails.
- Ensure the strip is flush with the front of the cabinet face frame.
3. Installing crown molding
- Measure and cut your crown molding to fit the length of your cabinet run.
- For inside corners, use a coped joint for a tighter fit.
- For outside corners, use a miter cut.
- Apply wood glue to the back of the crown molding.
- Attach the crown molding to the starter molding or fascia strip using pin nails.
4. Dealing With Corners And Joints
- Corners and joints require extra attention to ensure a seamless look:
- For inside corners, cope the joint on one piece and butt the other piece against it.
- For outside corners, use a miter cut on both pieces, typically at a 45-degree angle.
- Use wood glue on all joints for added strength and to minimize gaps.
Special Considerations
Every kitchen has its unique challenges. Here are some common issues you might encounter and how to address them:
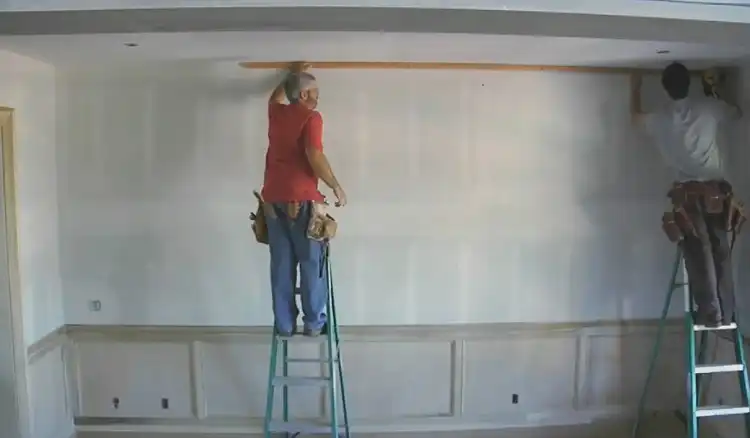
1. Handling Uneven Ceilings
If your ceiling is uneven:
- Use a scribe tool to mark the contour of the ceiling onto your molding.
- Cut along the scribed line to create a custom fit.
- For minor unevenness, you can sometimes flex the molding slightly to conform to the ceiling.
2. Working With Different Cabinet Heights
If you have cabinets of varying heights:
- Use filler pieces to bring shorter cabinets up to the same level as taller ones.
- Alternatively, you can step the molding down to accommodate height differences, creating a custom look.
3. Addressing Gaps And Reveals
- For small gaps between the molding and ceiling, use caulk to fill and create a seamless look.
- If you have a large gap, consider adding a secondary piece of molding or a filler strip to bridge the space.
Finishing Touches
The final steps can make all the difference in achieving a professional-looking result.
Filling Nail Holes
Use wood filler that matches your cabinet color to fill any visible nail holes.
Once dry, sand the filled areas smooth.
B. Touching up paint or stain
Use touch-up paint or stain to cover any filled nail holes or scratches.
For painted cabinets, you may want to give the entire molding a final coat to ensure uniformity.
C. Cleaning up
Remove any dust or debris from the installation process.
Wipe down the molding and cabinets with a slightly damp cloth to remove any fingerprints or smudges.
Final Words
Installing starter molding on cabinets can significantly enhance the look of your kitchen, giving it a polished and high-end appearance.
While it may seem challenging at first, with careful planning, proper tools, and attention to detail, it’s a project that many DIY enthusiasts can tackle successfully.
Remember to take your time, measure twice, and don’t hesitate to seek help if you encounter difficulties.
The effort you put into this project will pay off with beautiful, professionally finished cabinets that will be the pride of your kitchen for years to come.
Frequently Asked Questions
1. What Is Starter Molding?
Starter molding is a type of trim used as a base or foundation to attach other moldings, such as crown molding or decorative trim, to cabinets or walls.
It serves as a transitional piece that helps create a finished, polished look by providing a smooth surface for other moldings to be installed on top. This molding is commonly used in cabinetry and architectural finishes.
2. How To Attach Molding To Cabinets?
To attach molding to cabinets, first measure and cut the molding to the appropriate lengths using a miter saw for clean, angled cuts. Next, apply a small amount of wood glue to the back of the molding and press it firmly against the cabinet surface.
Secure the molding in place with finishing nails or a brad nailer, and make sure the nails are evenly spaced. Finally, fill any nail holes with wood filler and sand smooth before painting or staining the molding to match the cabinets.
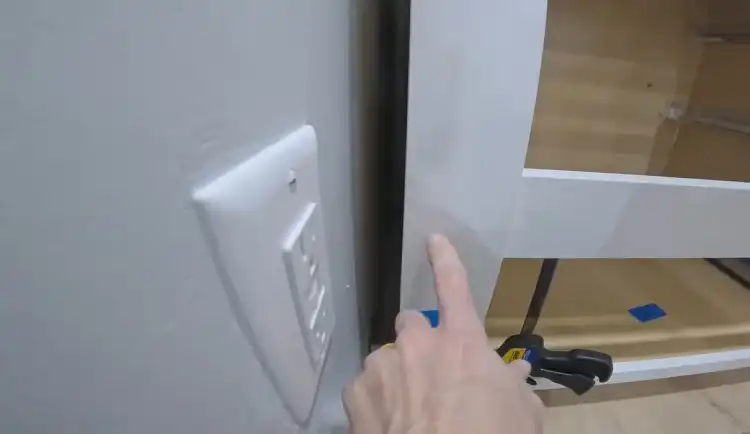
3. Where Do You Put Scribe Molding On Cabinets?
Scribe molding is typically placed along the back edge of the cabinet where it meets the wall. It is used to cover gaps or imperfections between the cabinet and the wall, ensuring a seamless and clean finish.
Scribe molding is especially useful when walls are not perfectly straight, as it can be trimmed to fit the contours of the wall.
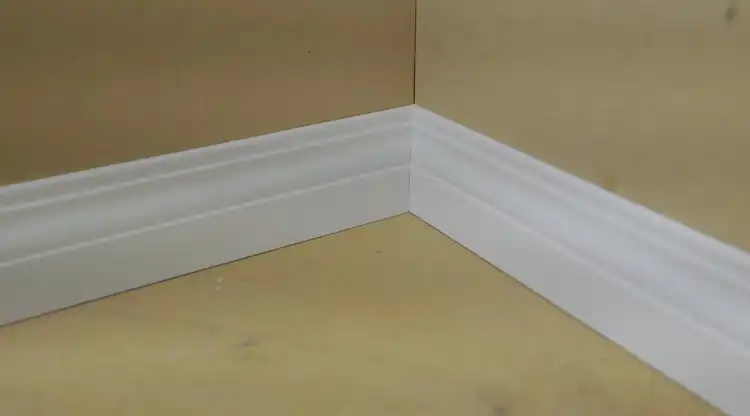
4. Does Shoe Molding Go Under Cabinets?
Shoe molding, also known as quarter-round molding, is generally not placed under cabinets. Instead, it is typically installed along the base of the cabinets where they meet the floor to cover any gaps and create a finished look.
It can also be used around the perimeter of the room, along the baseboards, to provide a neat transition between the floor and the walls or cabinets.
5. What Is Starter Trim?
Starter trim is similar to starter molding and is used as the initial piece of trim installed to create a foundation for additional moldings or decorative elements.
It serves as a base layer, allowing other trims, like crown molding or baseboards, to be added on top for a more elaborate finish. Starter trim is often used in cabinetry, doorways, and window frames to achieve a complete and professional appearance.