How to Drill Holes for Cabinet Pulls?
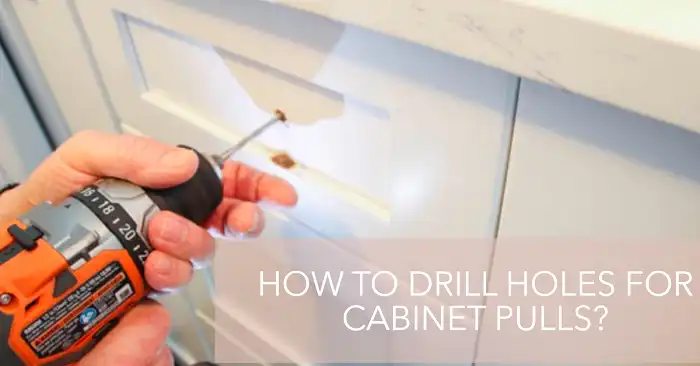
Installing new pulls can dramatically transform the look of your space. But before you can enjoy your updated cabinetry, you’ll need to master the art of drilling precise holes for those pulls. Don’t worry though. Because, with the right tools and techniques, this task is well within reach of any DIY enthusiast.
In this article, we’ll explain every step of the process, from selecting the right tools to troubleshooting common issues. By the end, you’ll have all the confidence you need to successfully tackle the project. Let’s begin.
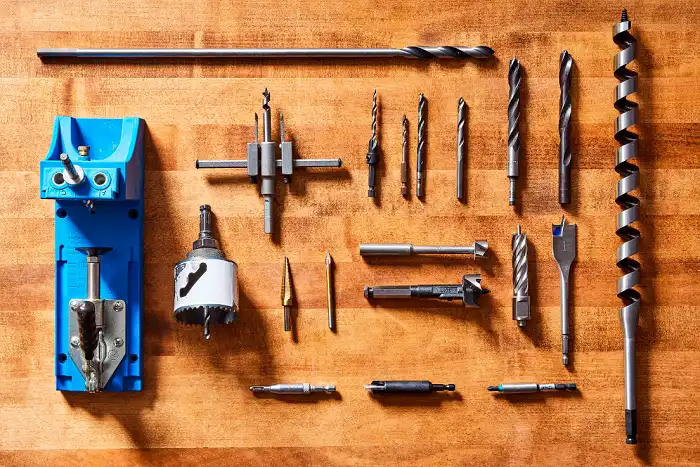
Step 1: Gather Your Tools and Materials
Before you begin, it’s crucial to have all the necessary tools at hand. Here’s what you’ll need:
| Tool | Why You Need It |
| Power drill | The main tool for creating holes |
| Drill bits (various sizes) | For pilot holes and final holes |
| Tape measure | For accurate measurements |
| Pencil | For marking drill points |
| Painter’s tape | To protect the cabinet surface and prevent splintering |
| Level | To ensure straight alignment |
| Safety glasses | To protect your eyes from wood chips |
| Dust mask | To avoid inhaling wood dust |
| Cabinet hardware jig (optional) | For consistent hole placement |
| Scrap wood | To prevent back-blowout |
When selecting drill bits, remember that you’ll need two sizes: a smaller one for pilot holes (typically 1/16 inch) and a larger one for the final holes. The final hole size should match the diameter of your cabinet pull screws. Most cabinet pulls use either 8-32 or 10-32 screws, which require 11/64 inch or 9/64 inch holes, respectively.
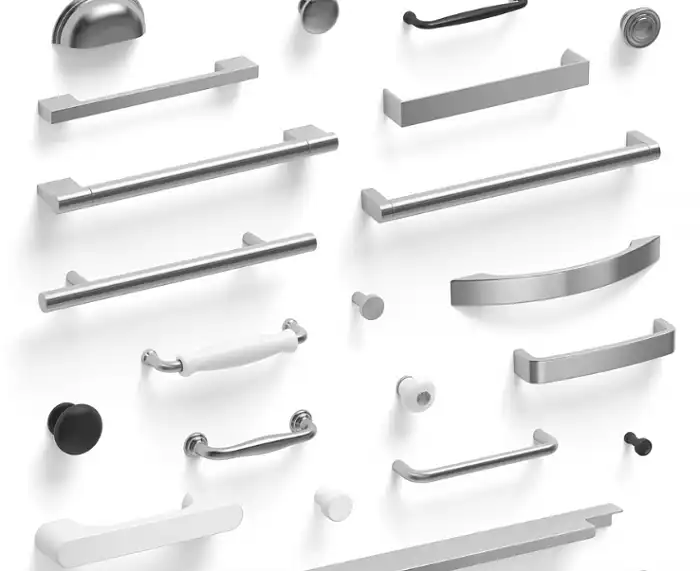
Step 2: Prepare and Plan
Before you start drilling, take some time to plan your project. Consider the style and size of your new pulls. Are you going for a modern look with long bar pulls, or a classic feel with knobs? The size and style of your pulls will influence their placement on the cabinets.
For drawers, pulls are typically centered both vertically and horizontally. For cabinet doors, they’re usually placed in the lower corner opposite the hinges. However, feel free to experiment with placement to achieve your desired look.
Next, decide on your marking method. You can measure and mark each cabinet individually, or create a template for consistent placement across multiple cabinets. A template is particularly useful for larger projects.
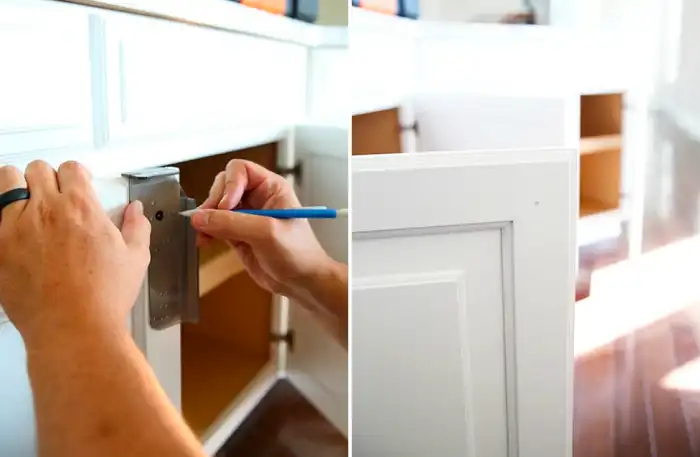
Step 3: Mark Your Drill Points
Now it’s time to mark where you’ll drill. Start by applying painter’s tape to the cabinet surface where you’ll be drilling. This serves two purposes: it protects the cabinet finish and provides a surface that’s easier to mark accurately.
For drawers:
- Measure the width of the drawer front and mark the center point.
- Measure the height and mark the vertical center.
- Use these marks to position your pull (or the center point between two screw holes for larger pulls).
For cabinet doors:
- Measure 2-3 inches up from the bottom corner opposite the hinges.
- Mark this spot for a single knob, or use it as a starting point for larger pulls.
If you’re using a template or jig:
- Position the template on the cabinet.
- Use the guide holes to mark your drill points.
Always double-check your measurements before drilling. It’s much easier to erase a pencil mark than to fill an incorrectly drilled hole!
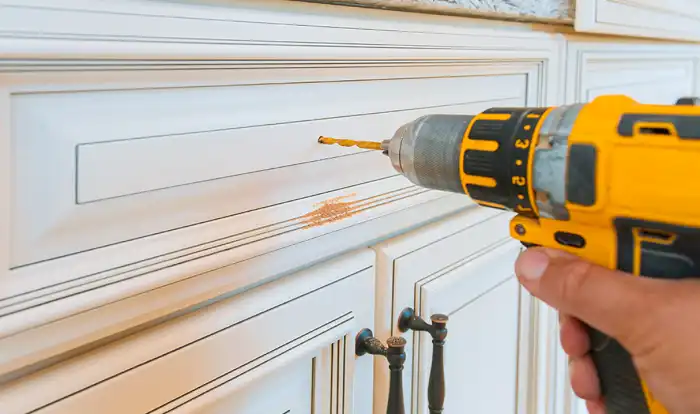
Step 4: Start The Drilling Process
Now for the main event – drilling your holes. Follow these steps for the best results:
- Put on your safety glasses and dust mask.
- Place a piece of scrap wood behind the area you’ll be drilling. This prevents splintering on the back of the cabinet.
- Start with a pilot hole. Use a drill bit slightly smaller than your final hole size (usually 1/16 inch).
- Drill slowly and steadily, keeping the drill perpendicular to the cabinet surface.
- Switch to your larger drill bit for the final hole.
- Again, drill slowly and steadily. Let the drill do the work – don’t apply too much pressure.
If you’re installing pulls that require two holes, repeat this process for the second hole.
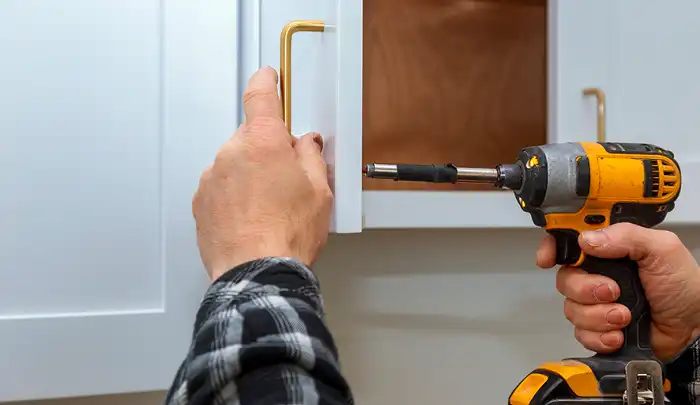
Step 5: Install Your New Pulls
With your holes drilled, you’re ready to install your new pulls:
- Remove any painter’s tape and clean the area around the holes.
- Insert the screws through the back of the cabinet and thread them into the pull.
- Tighten the screws, but be careful not to over-tighten, which could damage the cabinet.
- Use a level to ensure the pull is straight before fully tightening.
- Troubleshooting Common Issues
Even with careful planning, issues can arise. Here are some common problems and how to solve them:
Misaligned holes: If your holes don’t quite line up with the pull, you can slightly enlarge them using a round file or a larger drill bit.
Splintering: If you experience splintering despite using painter’s tape, you can often hide it by countersinking the screw slightly and using a colored wood filler.
Stripped screw holes: For a quick fix, insert toothpicks with wood glue into the hole. Once dry, re-drill and insert the screw.
Pro Tips for Perfect Results
To take your cabinet pull installation to the next level, consider these pro tips:
- For a super-clean look, use a countersink bit to create a slight depression for the screw head.
- When working with different cabinet materials, adjust your technique:
- For laminate cabinets, use extra care to avoid chipping the surface.
- For metal cabinets, you’ll need special drill bits and may want to consult a professional.
- If you’re installing pulls on many cabinets, consider making a custom jig for consistent placement.
Final Words
By following this guide, you’ll be well-equipped to install your new cabinet pulls with professional-looking results. Remember, practice makes perfect. If you’re nervous, try drilling a few test holes on a piece of scrap wood first. Before you know it, you’ll be admiring your handiwork and enjoying your refreshed cabinetry. Happy drilling!