How to Organize Craft Room Cabinets
Do you constantly rearrange your craft room cabinets trying to gain control over the chaos? If this sounds familiar, you’re not alone. Even the most passionate crafters can get overwhelmed dealing with cluttered spaces and disorganization.
The good news is that with some strategic organizing, you can transform those jumbled cabinets into a well-organized crafting treasure chest. In this article, we’ll explore craft room organization from start to finish—from initial evaluations to storage solutions to maintenance. Follow along to learn how to organize your craft supplies in a way that works for your unique space and creative needs.
Step 1: Evaluating Your Craft Room
Before diving into organizing, it’s important to thoroughly evaluate your craft room to identify problem areas and optimization opportunities.
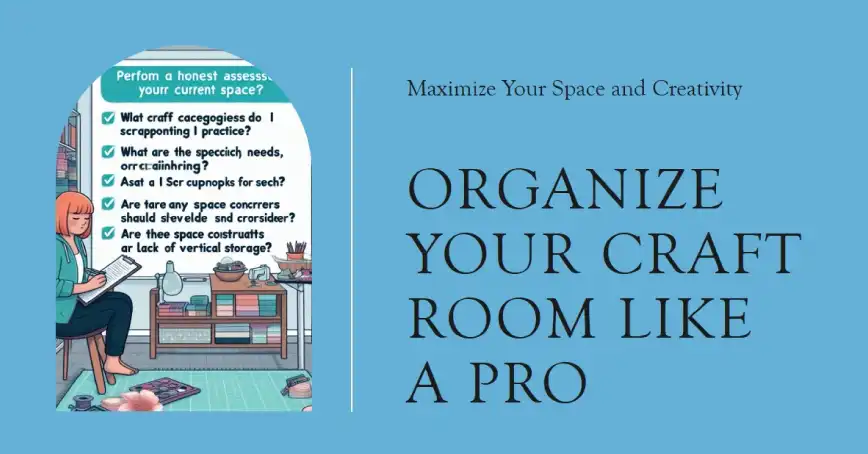
Detailed Self-Assessment
Perform an honest assessment of your current space by asking yourself:
- What craft categories do I practice (sewing, scrapbooking, painting, etc)? What are the specific supply needs for each?
- Are there any space constraints I should consider like shallow shelves or lack of vertical storage?
- What about my current organization works well? What causes frustration?
- Which areas or supplies do I struggle to find?
- What is my budget for new organizational tools and storage?
Room Measurement
Measure the exact dimensions of your cabinet spaces—depth, width, height—and note any built-in limitations. This allows you to identify optimal storage dimensions when shopping for organizational solutions later.
Goal Setting
Based on your self-assessment and measurements, define your organizing goals. Consider factors like what is the craft category and what are the specific supplies you need quick access to for that. How accessible you want your tools and materials to be should also play a role in setting your goals.
Finally, consider your budget for new organizational tools and storage. With defined goals, you can craft a custom organizing system tailored to your unique craft room needs.
Step 2: Decluttering and Preparation
Before organizing your space, a major decluttering session is crucial. This gives you a clean slate to work with to build your new cabinet organization system.
Decision-Making Frameworks
Use these frameworks when deciding what to keep vs. discard:
- KonMari Method: Does it spark joy? Keep items that bring you happiness or creative inspiration.
- 20/20 Rule: If you haven’t used it in the past 20 months, you likely won’t use it in the next 20. Discard these items.
- Sentimental Value: Are you holding onto items just for memories or nostalgia? Consider taking photos of meaningful items then responsibly discarding them.
- Replacement Cost: Would you repurchase this item today if you didn’t already own it? If not, discard it.
Responsible Discarding

When eliminating supplies, try to discard responsibly:
- Donate usable surplus craft supplies to local schools, craft groups, senior centers, or nonprofits.
- Sell quality unwanted supplies at local craft fairs or online marketplaces. Use the profits to purchase new organizational tools!
- Recycle appropriate items like empty plastic containers, cardboard boxes, and paper scrap remains.
Deep Cleaning
Thoroughly clean all cabinet surfaces using solutions appropriate for the types of materials stored. For example, clean cabinets storing paints, adhesives, and fabrics with the appropriate solvents to prepare a fresh, hygienic organizing foundation.
Step 3: Craft Categorization and Storage Solutions
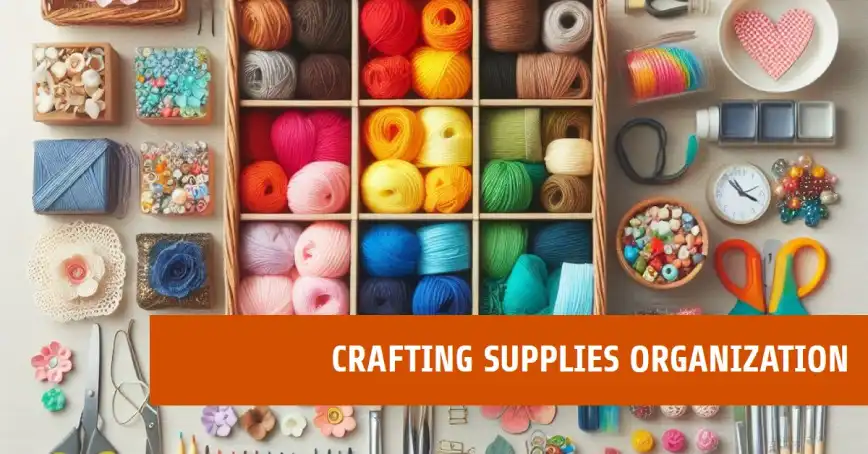
With decluttering completed, it’s time to organize your remaining supplies in a way that fits your crafting needs and space.
Craft-Specific Subcategories
Group like supplies into subcategories based on craft type. For example:
Painting: paints, brushes, canvases, easels, palettes, aprons, drop cloths
Scrapbooking: patterned/cardstock paper, albums, page protectors, scissors, adhesives, embellishments
Sewing: fabric, thread, needles, patterns, measuring tools, pins, seam rippers
Further, divide subcategories into more specific “sub-subcategories” as it makes sense for your collection.
Targeted Storage Recommendations
Tailor your storage solutions to the unique properties of each subcategory:
- Frequently used supplies: Place these items in prime spots for easy access. Install extra shelves, turntables, or racks on doors to make grab-and-go storage.
- Delicate items: Protect these in acid-free containers or sleeves. Use organizers with dividers or individual compartments.
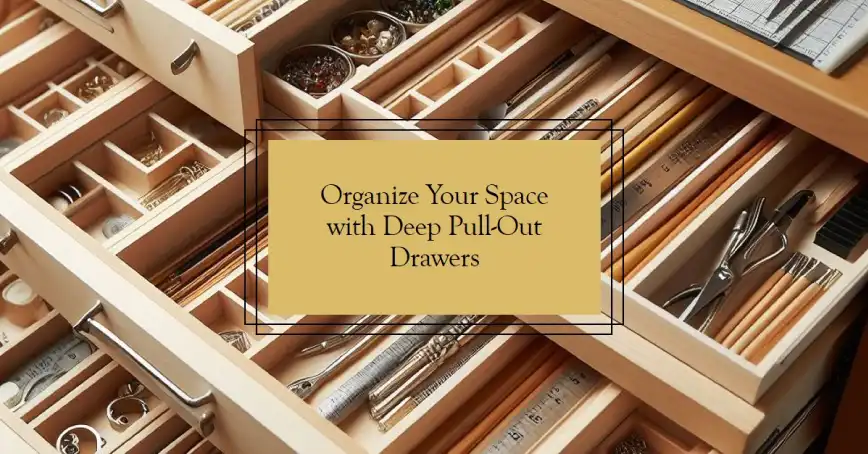
- Bulky/oversized items: Opt for large stackable bins or collapsible fabric bins. Install deep pull-out drawers with dividers. Utilize vertical space for tall items.
- Oddly shaped items: Look for specialty organizers with adjustable dividers or foam inserts that mold to unique shapes.
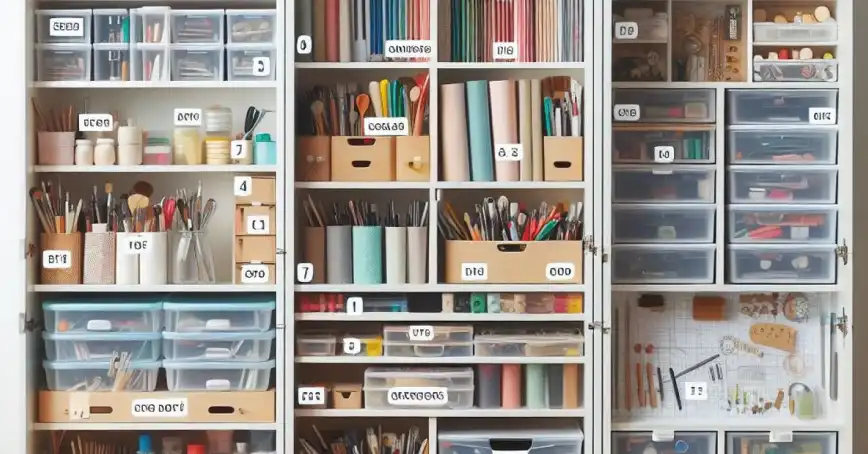
Visual Inspiration
Check out these photos demonstrating targeted storage solutions for different craft subcategories:
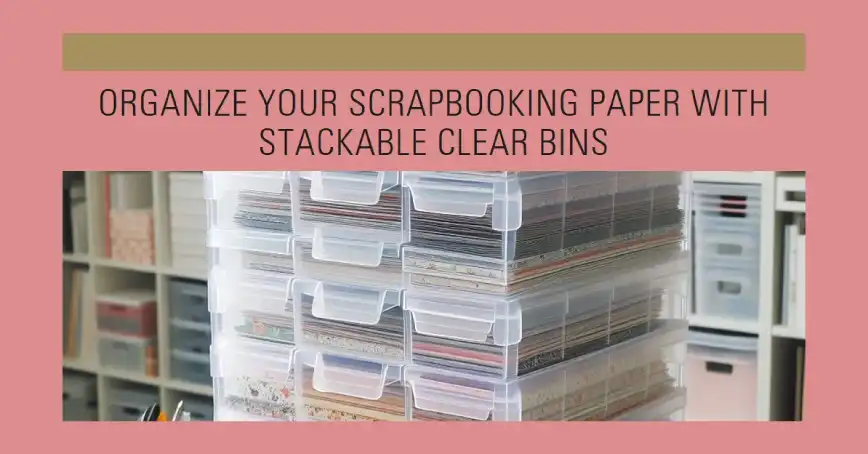
Stackable clear bins for organized scrapbooking paper storage
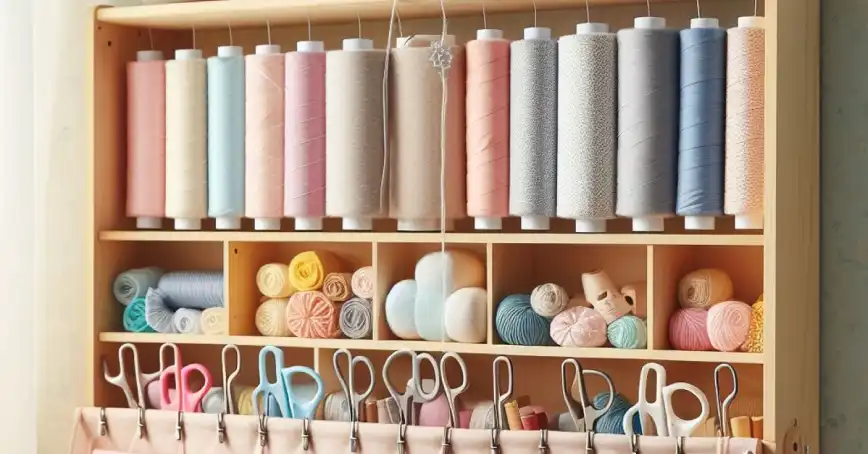
Hanging fabric organizer for sewing materials
Step 4: Inventory and Labeling
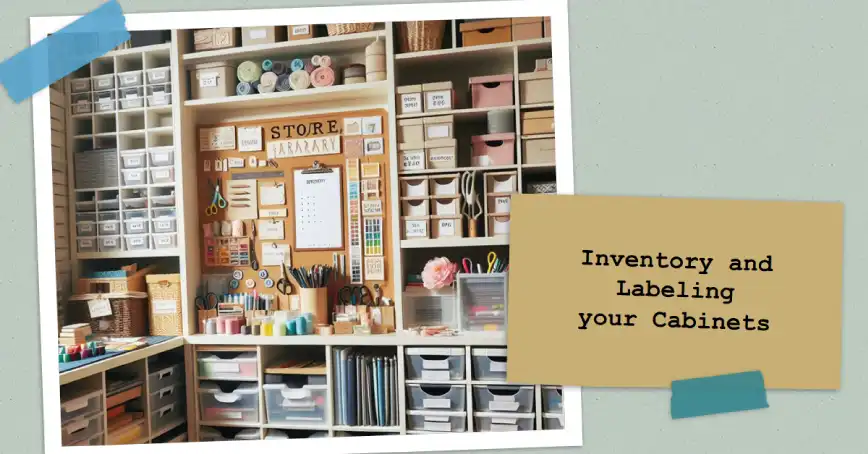
An organizing system is only effective if you can easily identify where things belong. Implement these inventory and labeling best practices:
Inventory
Catalog all your supplies during the decluttering process. Maintain a detailed inventory list that includes item name, and quantity. Then categorize the location by cabinet, shelf, bin, etc.
Multi-Tiered Labeling
Implement a coordinated labeling system. You can use colors to assign codes for each main craft category and secondary colors for subcategories.
Use clear labels with concise text like “Scrapbooking – Patterned Papers.” you can also use symbols or icons in bins for quick visual identification. Another creative idea that might take some time to set up but will be very useful later on is to attach QR code labels and link to your inventory list for full details.
Maintenance and Additional Tips
To sustain your newfound organization, set reminders to regularly tidy shelves, re-categorize shifted items, and purge any new clutter. Every 6 months, thoroughly review your inventory and storage solutions, then make any changes needed to accommodate evolving craft preferences and needs.
Before starting new projects, reduce mid-project disruption by gathering all needed supplies in a designated project box. For portability, create a compact craft toolkit containing your most used tools and small supplies so you can easily move between rooms or take projects on-the-go.
With some dedicated time for customization and regular upkeep, you can conquer even the most chaotic craft room and enjoy your unleashed creativity.
FAQ
How do I declutter sentimental craft supplies I’m having trouble parting with?
Consider taking high-quality photos of your favorite supplies or completed projects featuring the items. This preserves the memories attached to the physical objects while still allowing you to responsibly discard them and clear space.
What if I don’t have room for large organizational pieces like shelving?
Optimize vertical storage space with wall-mounted solutions like hanging fabric organizers, floating shelves, over-the-door racks for tools, and magnet strips for small metal tools and supplies.
How should I organize small or oddly shaped supplies like jewelry findings?
Use compartmentalized organizers like small plastic tackle boxes or craft storage cases. Look for options with adjustable dividers, stackable trays, and foam inserts that mold to small items.
What’s the most budget-friendly way to organize craft cabinets?
Repurpose household items like jars, shoeboxes, or empty food containers to hold supplies. Dress up plain containers with spray paint, decorative paper, or vinyl to give a cohesive look.