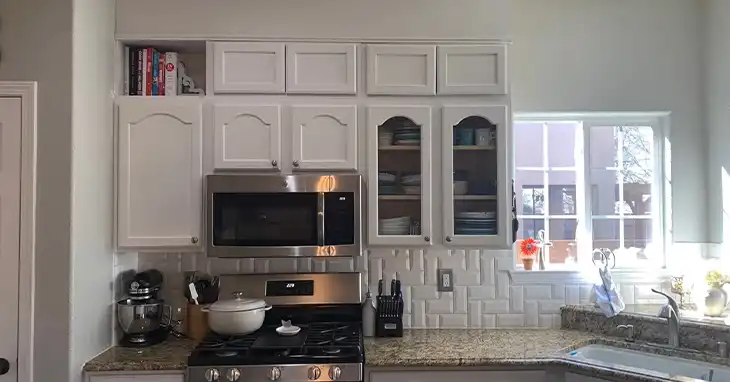
How to Attach Billy Bookcase to Wall?
Billy bookcases from IKEA are a popular choice for their versatility and affordability. But that feeling of accomplishment after assembling your Billy can quickly turn into frustration if you’re unsure how to secure it to the wall.
Here’s the truth: a wobbly bookcase is a recipe for disaster. Taking the time to properly secure your Billy not only keeps your prized possessions safe but also gives you peace of mind. So, grab your tools, and let’s get ready to transform your Billy into a sturdy and stylish focal point!
In this article, I’ll guide you through the step-by-step process of attaching your Billy bookcase to the wall. So, to learn how to do so, be with me till the end!

What You’ll Need for Attaching Billy Bookcase to the Wall?
To successfully attach your Billy bookcase to the wall, you’ll require a few essential tools and materials. Having everything ready beforehand will make the process smooth and efficient.
- Phillips screwdriver: This is your everyday hero for turning those screws. You know, the ones that hold the whole bookcase together?
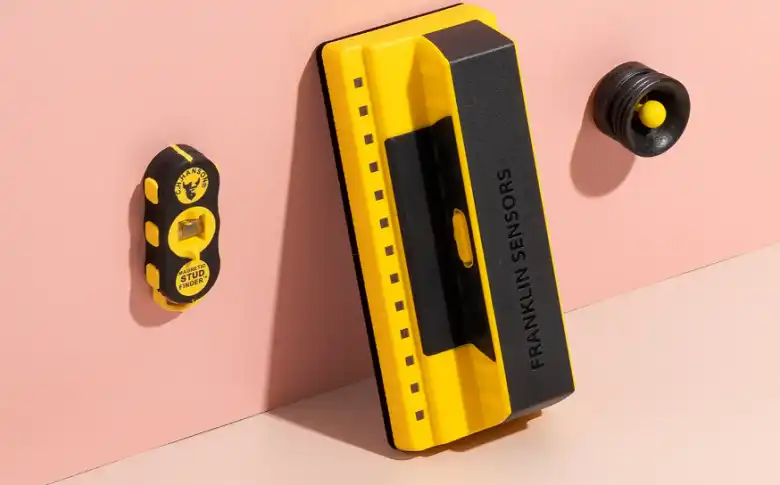
- Stud finder: This handy tool helps you discover the wooden beams hiding behind your wall – like a metal detector for wall supports! Think of it as finding the strongest spots to hang your Billy.
- Level (optional): This gadget ensures your bookcase isn’t leaning like the Tower of Pisa. We want it perfectly straight, like a bookshelf champion!
- Pencil (optional): This is just for marking where you’ll be drilling those holes for the screws. Think of it like a roadmap for your screws.
- The hardware from your Billy bookcase: IKEA usually supplies everything you need, including L-brackets, screws, and washers. These are like the bones and muscles that hold your Billy up on the wall.
Pro Tip: If you can’t find the original Billy hardware or want some extra options, a trip to your local hardware store can be your knight in shining armor. Just make sure the new hardware works well with your type of wall.
Attaching Procedure for Billy Bookcase to Wall
With the required tools and materials ready, let’s get into the step-by-step process of securely attaching your Billy bookcase to the wall.
Step 1 – Assemble the Bookcase
Begin by assembling the Billy bookcase according to the provided instructions. Ensure that all the components are properly aligned and tightened securely. This step is crucial as a wobbly or unstable bookcase can compromise the integrity of the wall attachment.
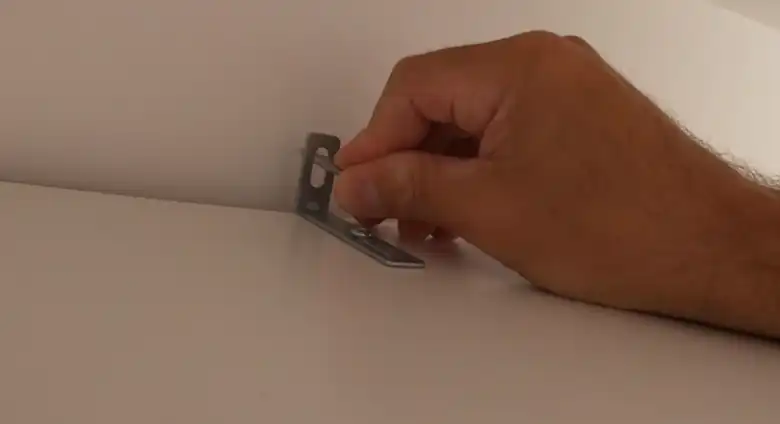
After assembling the bookcase, you will need to attach the L brackets on the top of the bookcase. It will be the bridge between your wall and the bookcase.
Step 2 – Find the Wall Studs
Locating the wall studs is an essential step in ensuring a secure and sturdy installation. Use a stud finder or the good old knock-and-listen method to identify the studs behind the drywall. Mark the stud locations with a pencil or masking tape for easy reference.
Step 3 – Position the Bookcase
Once you’ve identified the stud locations, carefully position the assembled Billy bookcase against the wall, making sure it’s level and aligned with the marked stud positions. This step is crucial as it will determine the placement of the brackets and ultimately the stability of the installation.
Step 4 – Mark the Screw Holes for the Wall
With the bookcase and brackets in position, use a pencil or marker to mark the locations where the screws will go through the brackets and into the wall studs. Be precise with your markings to ensure a secure and accurate installation.
Step 5 – Drill Pilot Holes (if Necessary)
Depending on the type of wall you have (drywall, plaster, or concrete), you may need to drill pilot holes at the marked locations. This step helps prevent cracking or chipping of the wall surface and ensures a smoother insertion of the screws.
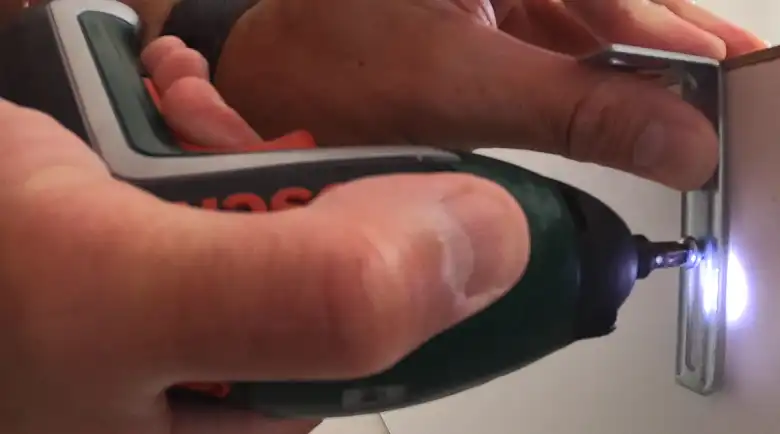
Step 6 – Secure the Brackets to The Wall
Finally, it’s time to secure the brackets to the wall studs. Using the appropriate screws for your wall type, carefully drive the screws through the brackets and into the studs. Ensure that the screws are tightened securely, but avoid over-tightening, which could strip the screw holes or damage the brackets.
People Also Ask
Do I need to use wall anchors if there are no studs available?
If you cannot locate any wall studs, you’ll need to use wall anchors designed for drywall or plaster walls. These anchors provide additional support and distribute the weight of the bookcase more evenly across the wall surface.
Can I attach the Billy bookcase to a drywall without finding studs?
While it’s possible to attach the bookcase to drywall without studs, it’s not recommended, especially for larger or heavier units. The drywall alone may not provide enough support, leading to potential accidents or damage over time.
How often should I check the tightness of the screws?
It’s a good idea to periodically check the tightness of the screws, especially after the initial installation or if you’ve rearranged the contents of the bookcase. Loose screws can compromise the stability of the unit, so tightening them when necessary is crucial.
Conclusion
Congratulations! You’ve successfully transformed your Billy bookcase into a secure and stylish wall fixture. Now you can proudly display your book collection, decorative items, or maybe even a family photo or two.
Remember, a well-mounted Billy brings not only a touch of organization and beauty to your space, but also peace of mind. No more worries about wobbly shelves or book avalanches!
So, sit back, admire your handiwork, and pat yourself on the back for a job well done.